Creating 3D models from 2D Bitmap images
In this post, I will be creating a 3D printable model from a 2D image that was taken from the retro videogame Jet Set Willy 2. Thanks to retro gaming legend Clammylizard for the suggestion!
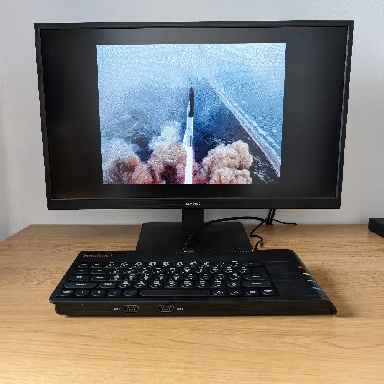
We shall start with the original screenshot from the ZX Spectrum. In it, we have the yellow outer frame and the picture within, which is all black and white except for some red text in the bottom-right.
As ZX Spectrum games usually have limited color, it is a perfect screenshot for adding a bit of 3D to and printing it out.
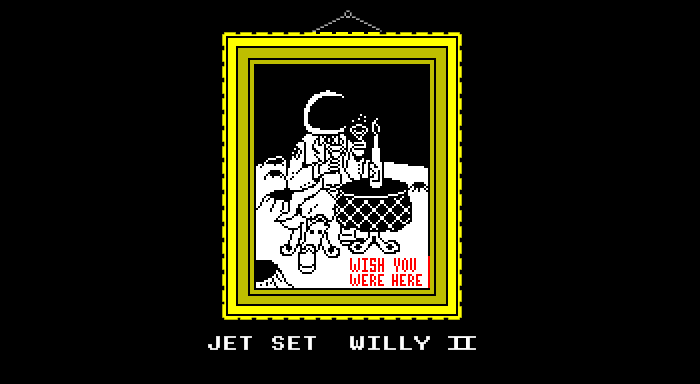
We shall start with the black-and-white picture and ignore the frame and text for now. I have cropped the bitmap, removing the frame and the red text.
The easiest way to convert the flat bitmap into a 3D model with some depth that we can then manipulate in a 3D modeling package is to use our online 2D image to 3D model tool.
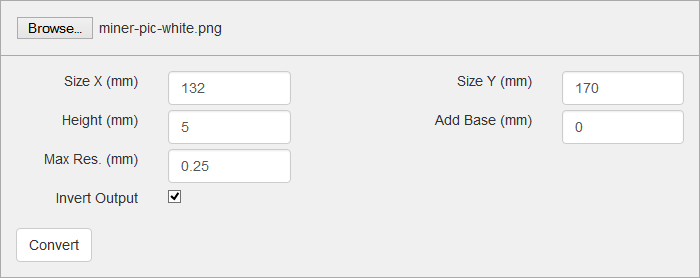
The section of the image that we will be converting is the black-and-white center picture part. We shall ignore the red text for now. (Our bitmap has been edited to remove these for now).
In the tool, we can specify the width and height (132mm x 170mm) and a depth of 5mm. We also have the Invert Output option checked, which means the white pixels will be rendered at 5mm deep and the black pixels will not be rendered at all in our model.
When you run the tool, it will generate an STL file that can be opened in most 3D modeling and CAD packages:
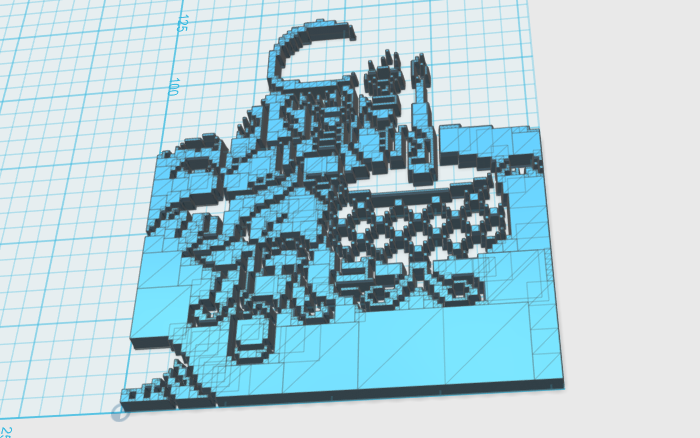
With the image converted to a 3D model, we can add a flat base to the model. This will be printed in black plastic and then switched mid-way to white plastic for the white part.
We could have had the tool automatically add a base for us. There is an option Add Base (mm); however, in this instance, I prefer to create the base myself.
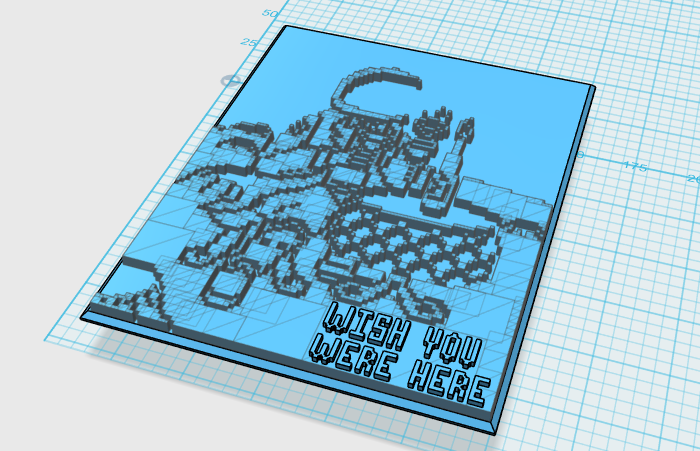
As you can see, we have created a base model and positioned it under our character. We have also recreated the bitmap text and placed it in roughly the same position as it appears on the original game screenshot.
The idea is that all three parts will be exported as one STL file and printed. As my Makerbot 3D Printer can only print one color at a time, I will be swapping the plastic over twice. Once for the white text and then for the red text.
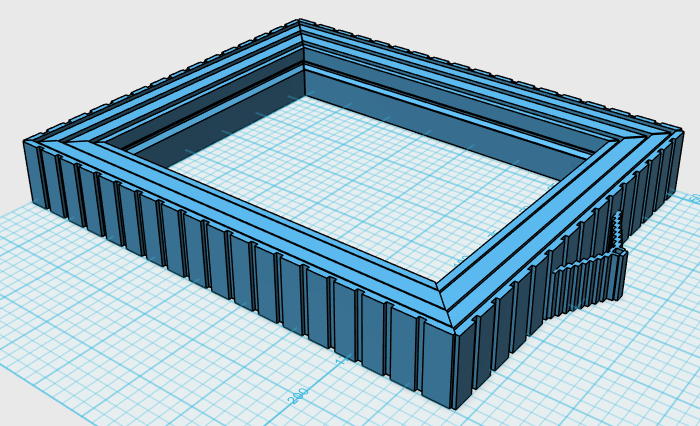
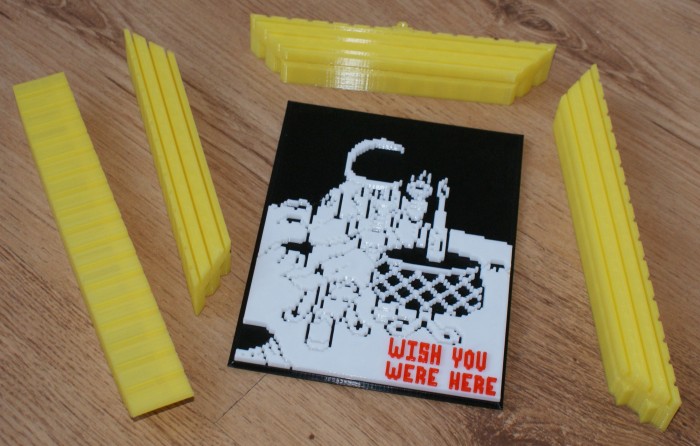
Now, for the frame. I have recreated a frame using 123D Design trying to make it look the same as the frame in the original screenshot. Each side of the frame is a separate model. Due to the size limitations of my 3D printer, I will be printing each one out separately and gluing them together.
There is a small slot running around the inside of the frame. This is where the "Picture" model will fit nicely.
Here are all the parts printed out. The total printing time is about 12 hours.
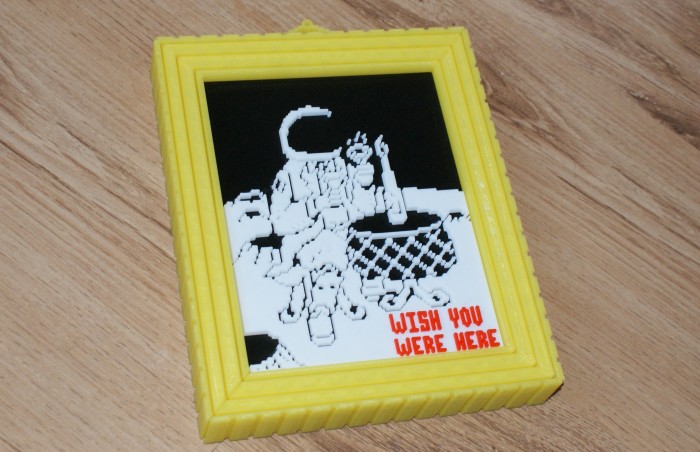
Now that we have all the pieces printed, it's time to slot them together and add some glue to keep them together!
Submit a Comment
Comments
ClammylizardJan 17, 2015 23:36
Frederik MMay 22, 2015 21:17
HolusJan 06, 2016 04:24
Harlan HoweFeb 08, 2017 21:18