Fantasy World Dizzy 3D Scene
One of the most played videogames of my youth, Fantasy World Dizzy gets a 3D printed makeover!
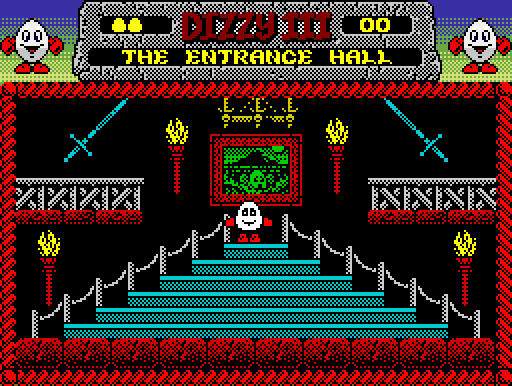
This is by far the largest 3D-printed project I've attempted to date. To give you an idea of the scene I'm trying to recreate, here is a screenshot of the game on the ZX Spectrum (at least I hope it's a Speccy screenshot; I have a feeling it's not!). The inspiration for this project comes from a Photoshop mockup of the same scene from Dizzy 3, showing the stairs and ledges re-done as a 3D image. I can't for the life of me find the image now, but I will link it here when it turns up!
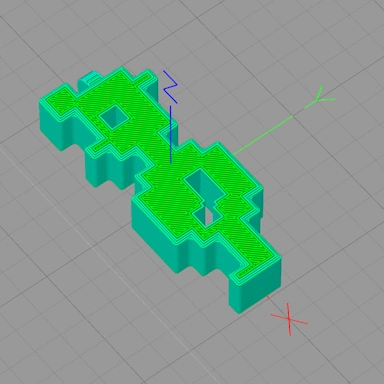
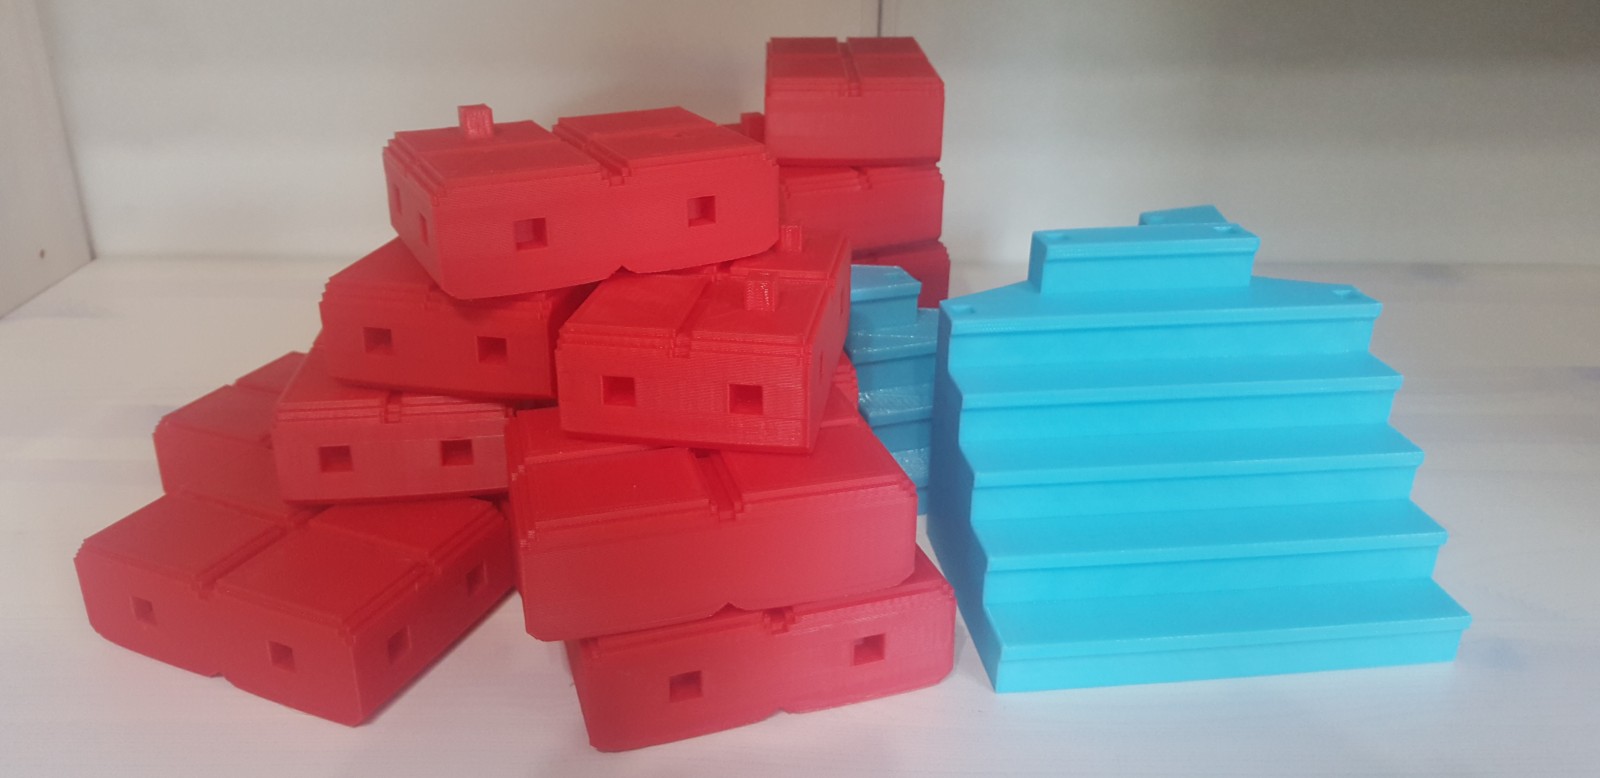
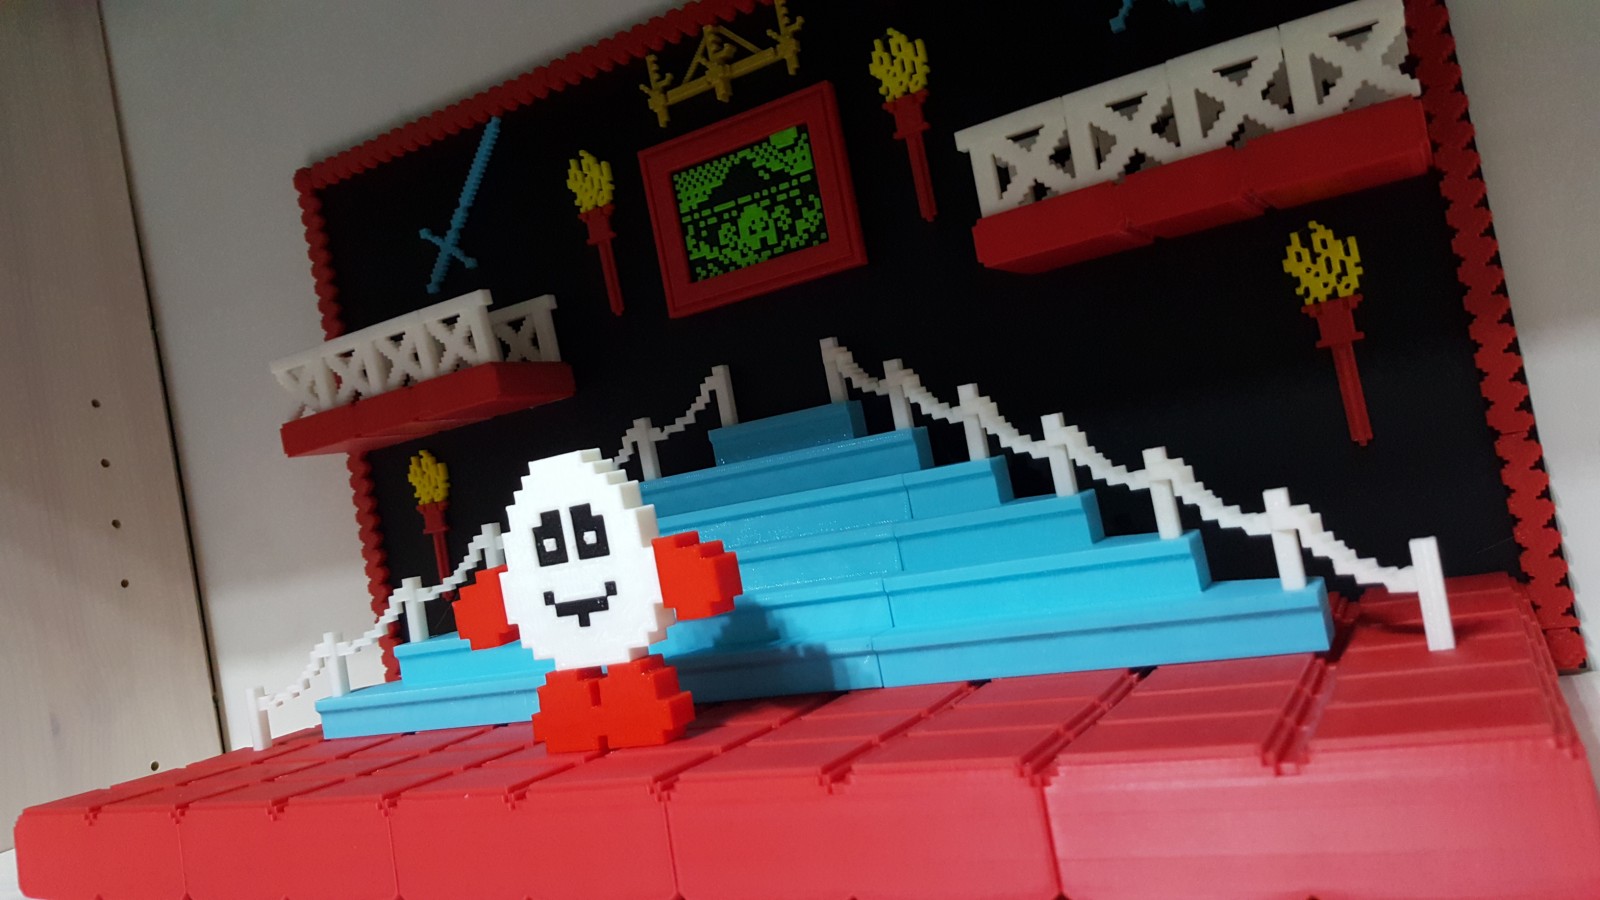
As I mentioned earlier, this will end up being a large print when all the pieces are put together. To start with, we created the red bricks that make up the floor and also the cyan staircase. Together, these items make up the majority of the content of our finished item. The parts are split up into sizes the 3D printer can comfortably manage.
The red floor alone was printed with a 10% fill and 0.4mm layer height and consumed nearly an entire reel (1kg) of red PLA plastic. Luckily, I have another reel ready for when it runs out.
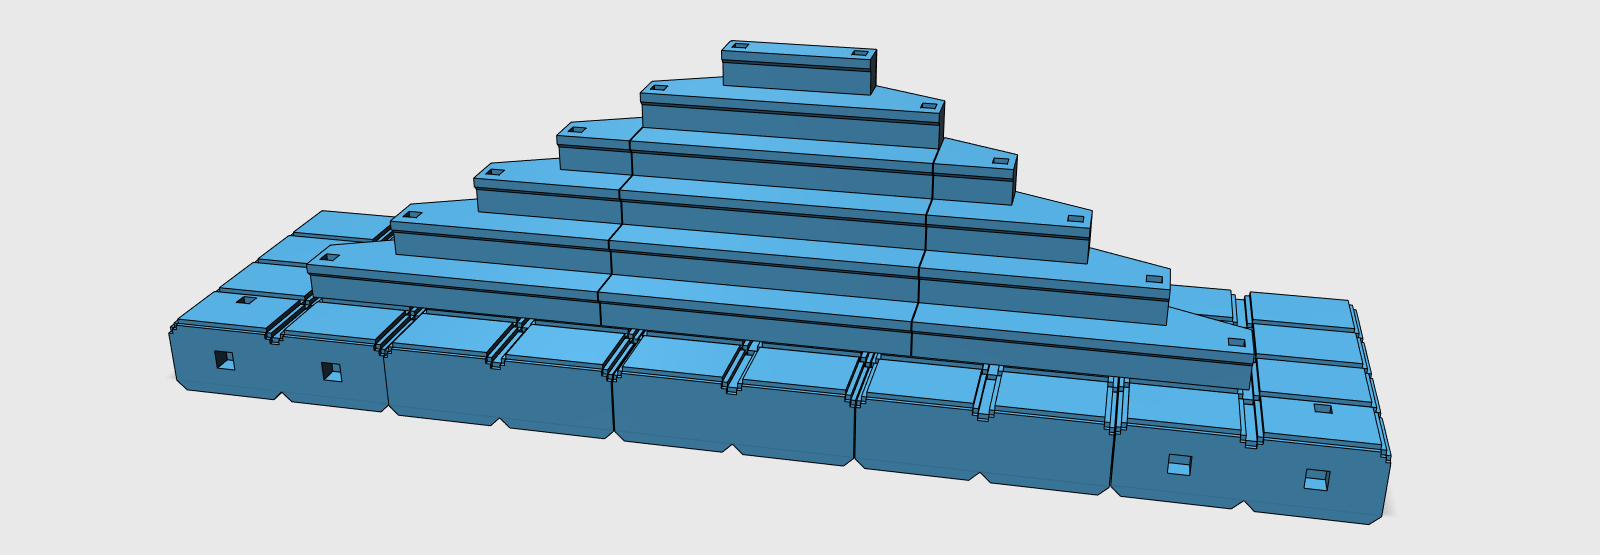
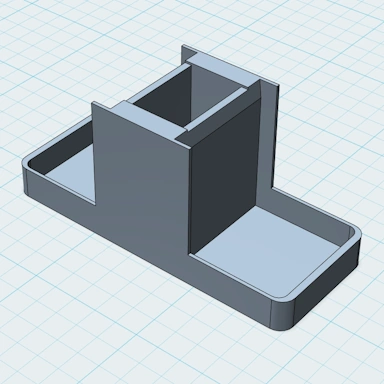
The floor is separated into blocks, which can be connected together to create the floor. For our print, we will use 10 blocks across by 6 blocks deep. Each block has a square hole on each side to allow us to connect them together by using small pegs that fit in each hole. Front and side-facing blocks will not contain these holes!
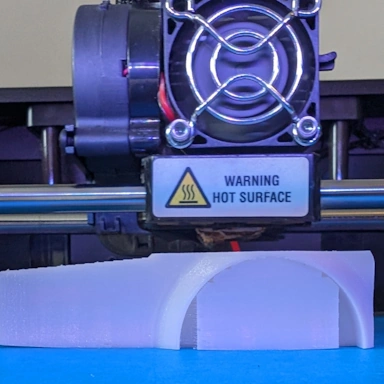
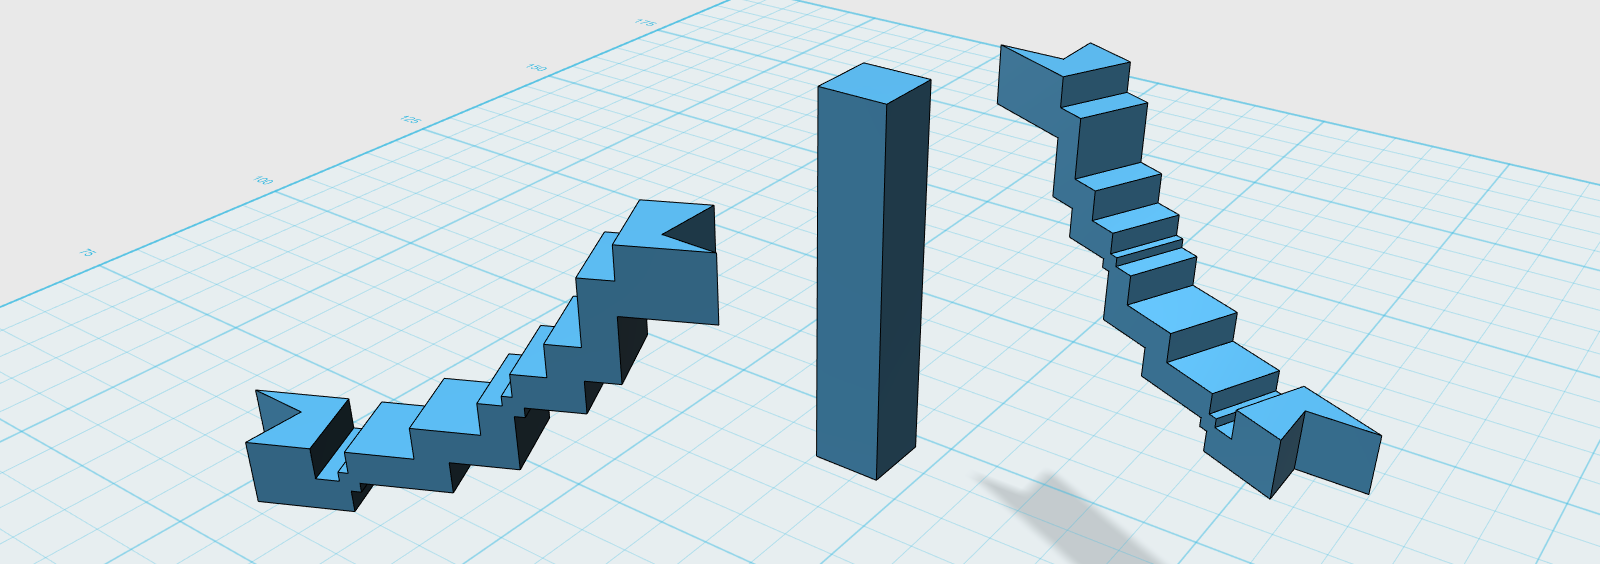
Now we need to create the posts and rope for the stairs. These will go down either side of the stairs and will be printed in white plastic.
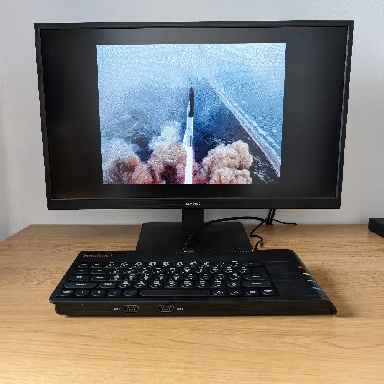
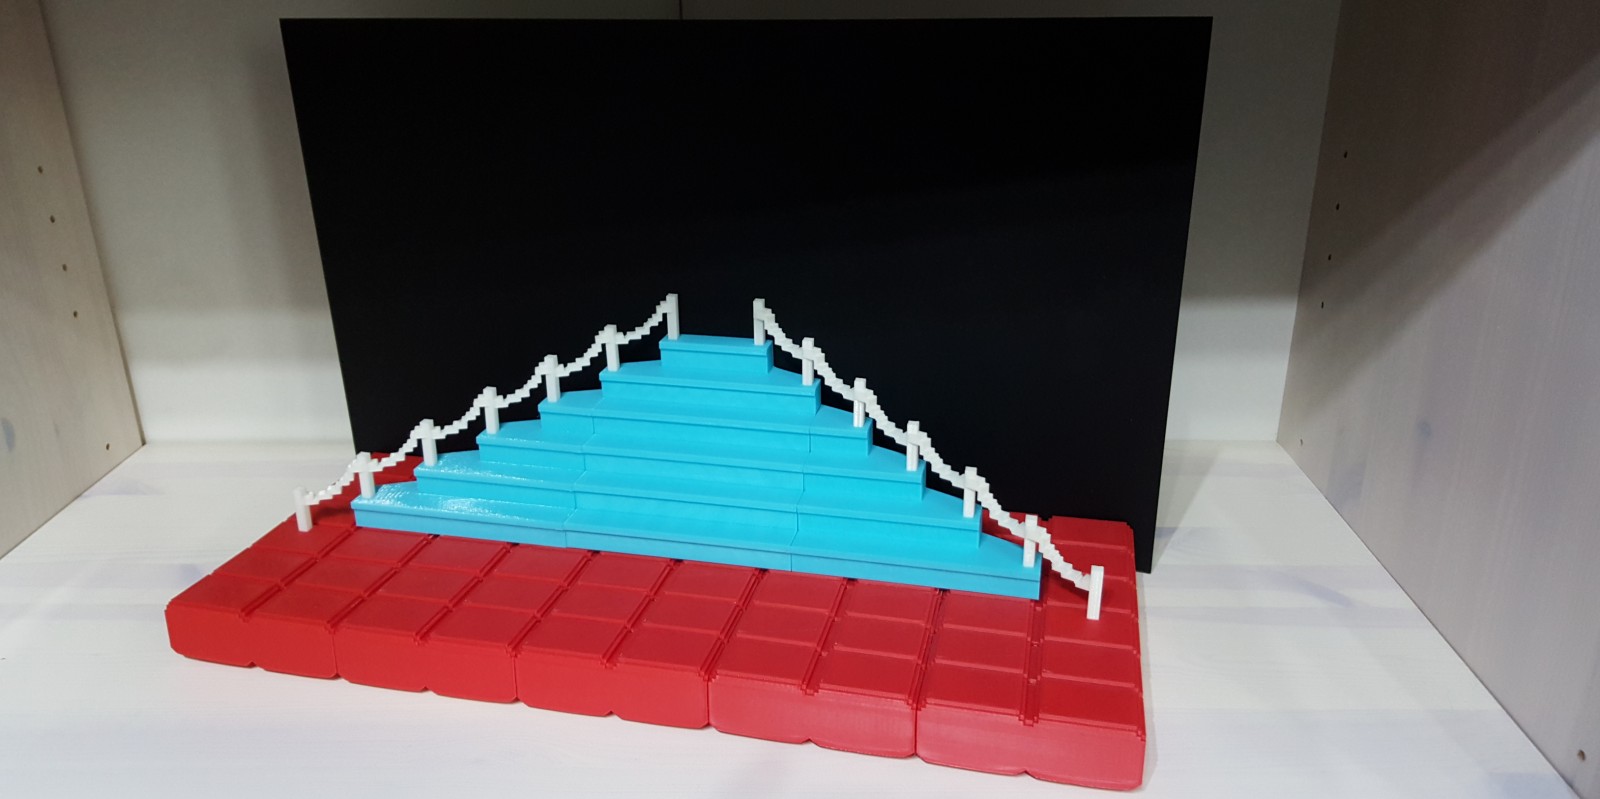
For the black background, I purchased some 500mm x 500mm black acrylic plastic and cut it down to size. Here is how it looks with the steps, ground blocks, and black backing attached. As you can see, it's slowly starting to take shape!
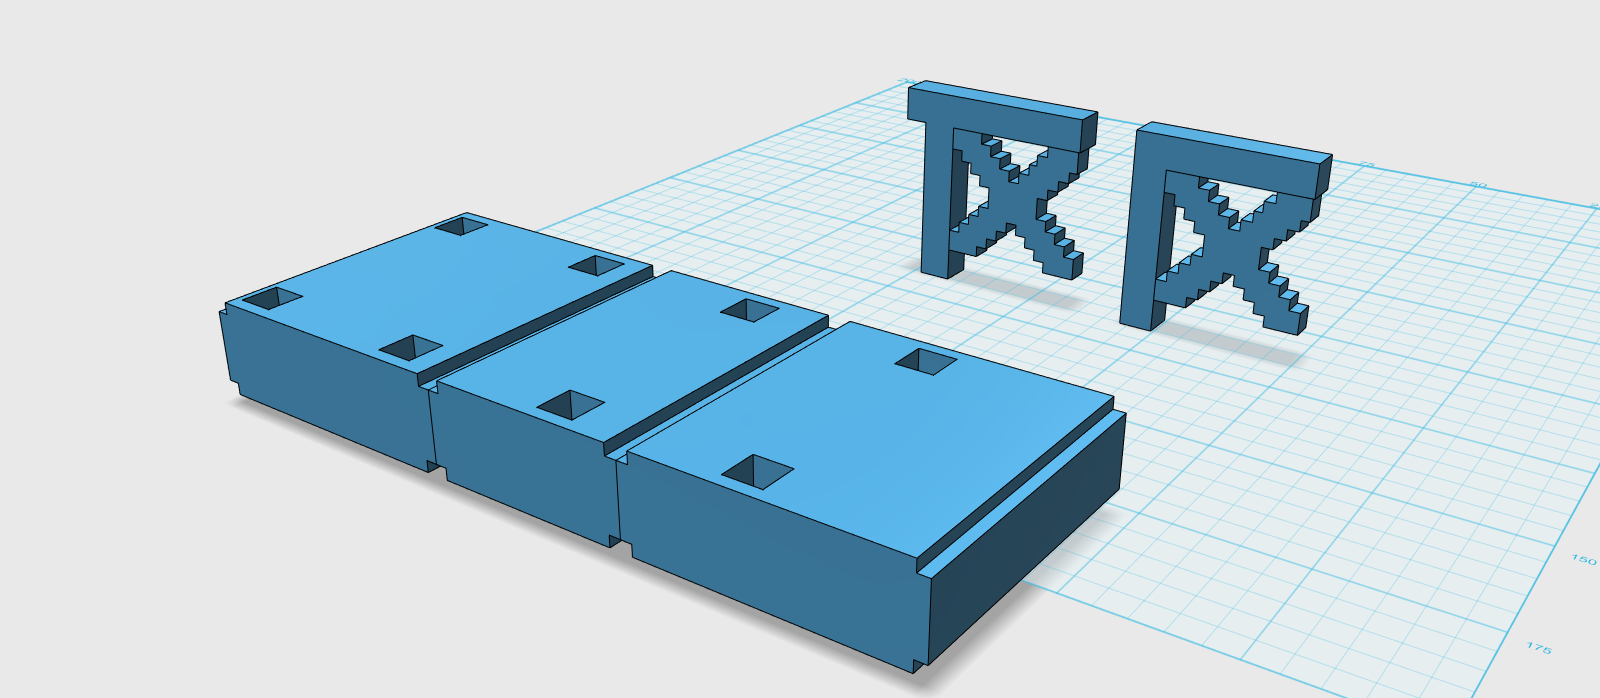
Now we need to begin designing the items in the background. First up are the two ledges on either side of the stairs.
Now we need the other items, such as the torches, swords, chandelier, and, of course, the picture of Dizzy in his last adventure. We could easily have added some more color to the picture (rather than doing it black or green), but we wanted to keep it as per the original screenshot.
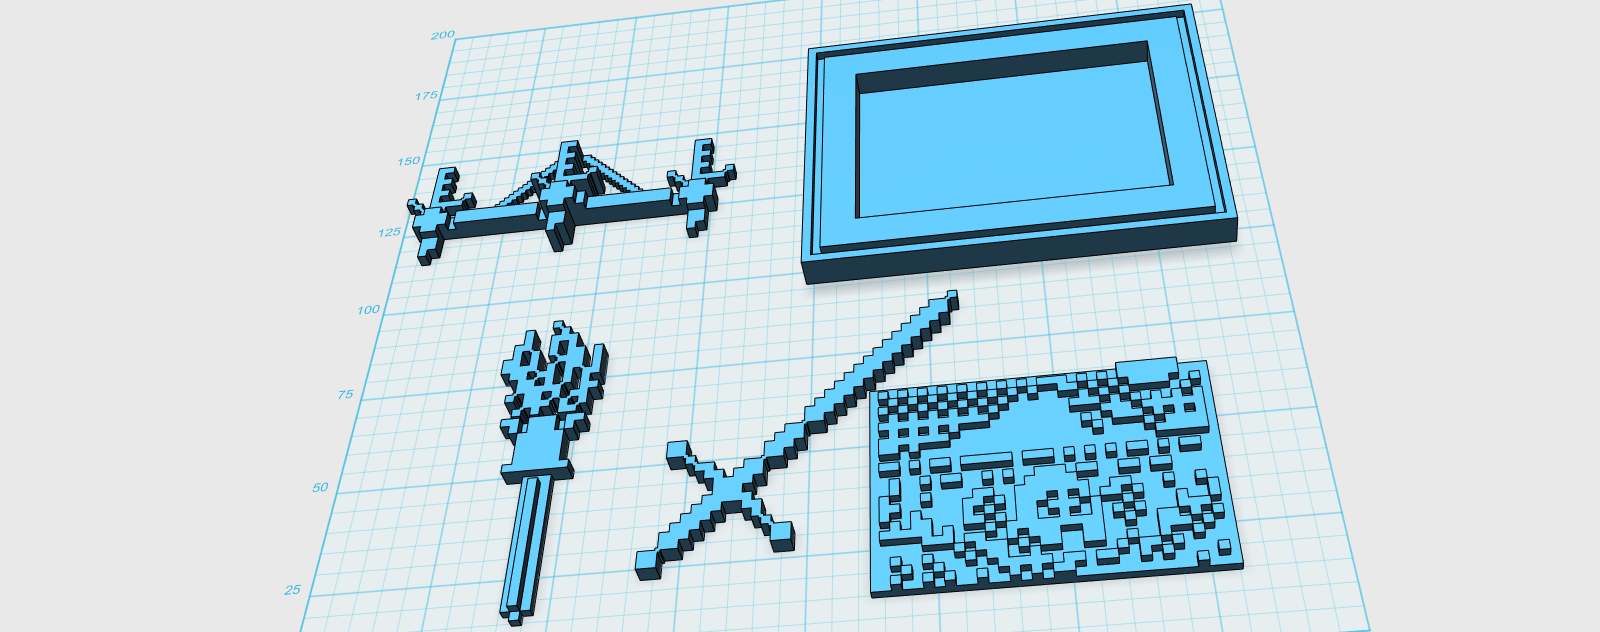
With all the designs completed, it's just a matter of printing them out and very carefully gluing them into place.
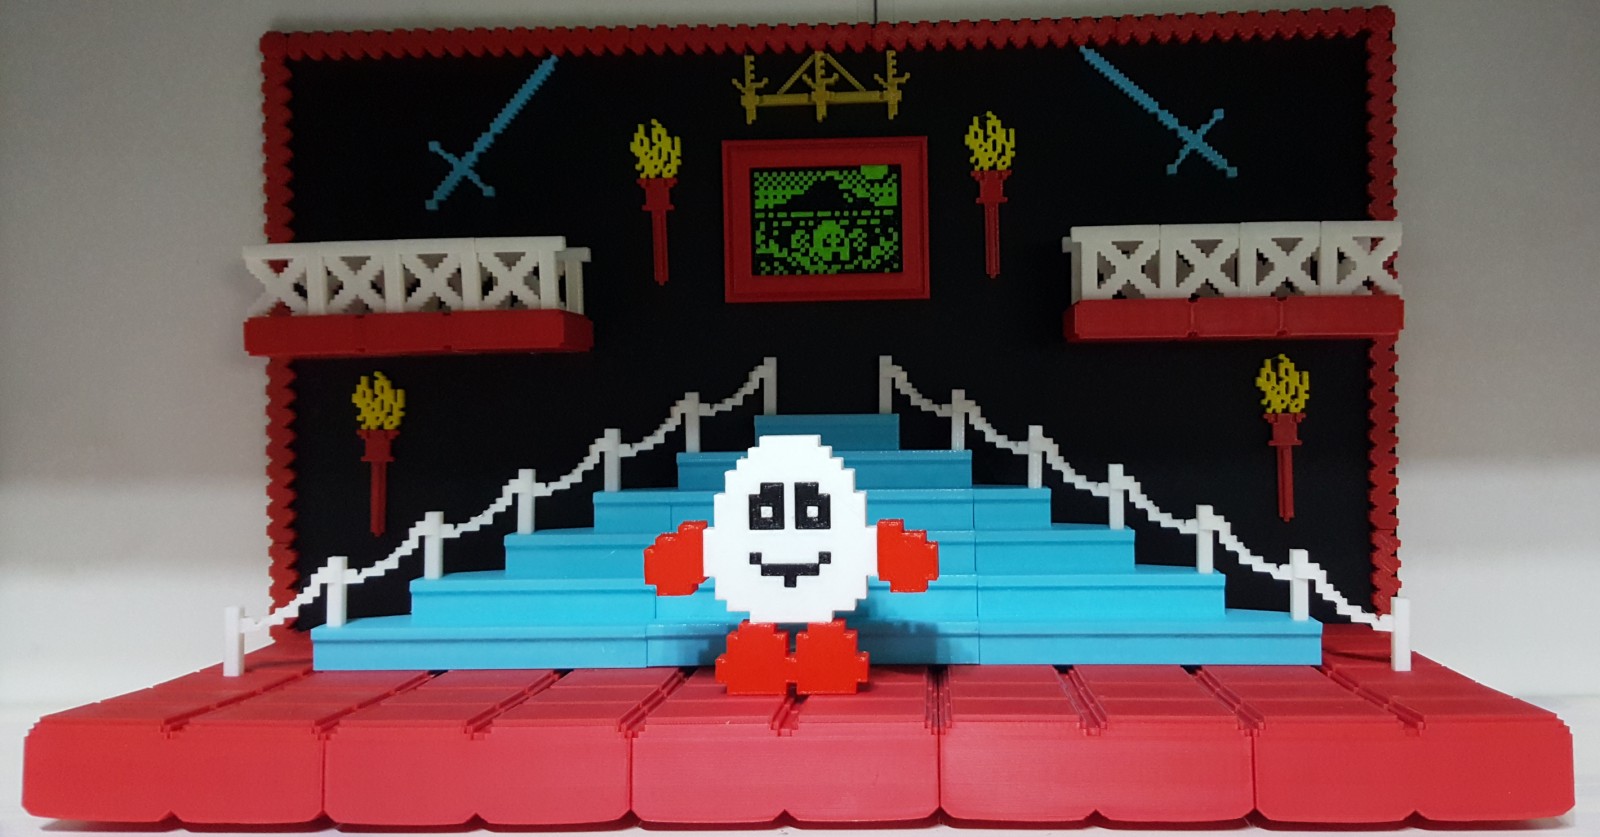
All done! Now, Dizzy, once up the stairs, do we go left or right?
Submit a Comment
Comments
The Oliver TwinsMar 27, 2016 10:22
EMApr 09, 2016 12:47