Menu
File Types
File Types
3D Model
Image
Vector
Video
Top Converters
Top Converters
OBJ Converter
STL Converter
SKP Converter
AVIF Converter
HEIC Converter
JPEG Converter
Blog
Blog
3D Printing Blog
3D Web Blog
3D Models
Language
Language
English
Deutsch
Español
Français
Italiano
Português
한국어
日本語
中国人
DORCHESTER
3D
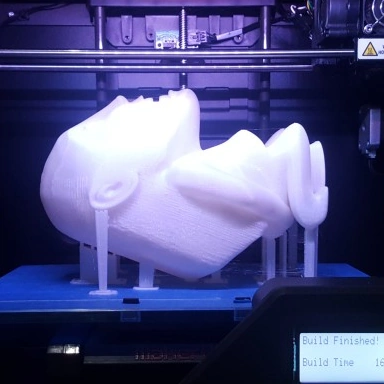
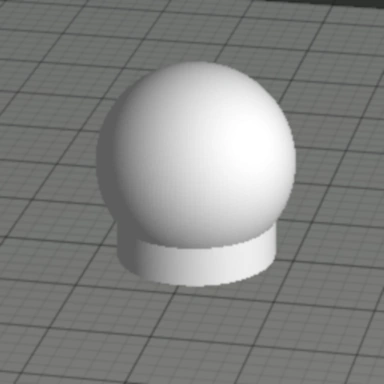
How to 3D Print an OBJ File
Jun 07, 2024
Read more
3D Logo Generator
Nov 27, 2021
Read more
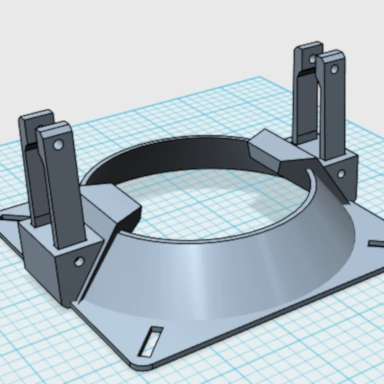
Sinclair ZX Spectrum Next Laptop Version 2
Nov 21, 2020
Read more
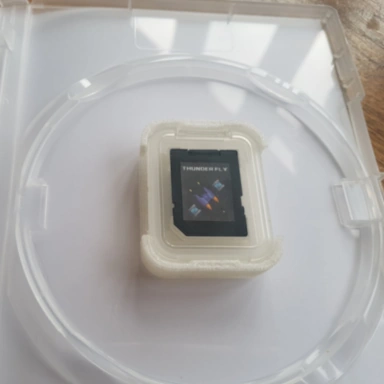
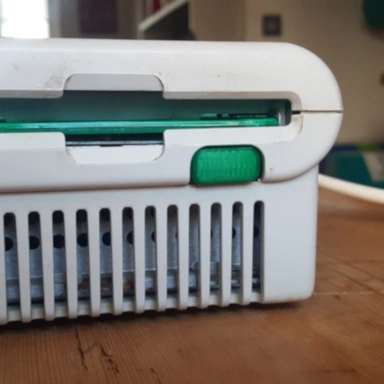
ZX Spectrum Next Game DVD SD Case
Nov 15, 2020
Read more
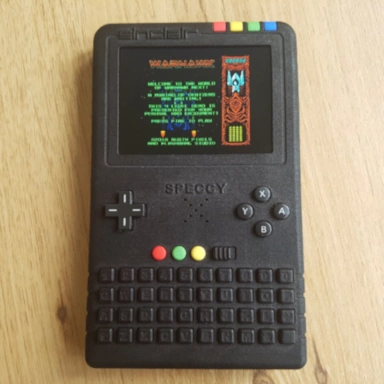
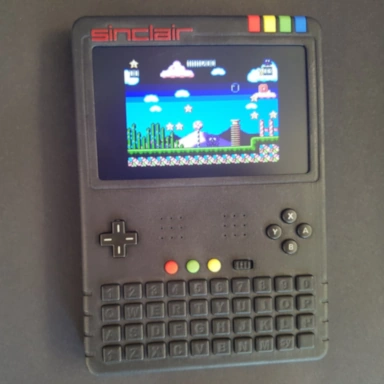
SpeccyX 3.5" - ZX Spectrum Next Handheld
Nov 17, 2018
Read more
SpeccyX - ZX Spectrum Next Handheld
Sep 01, 2018
Read more
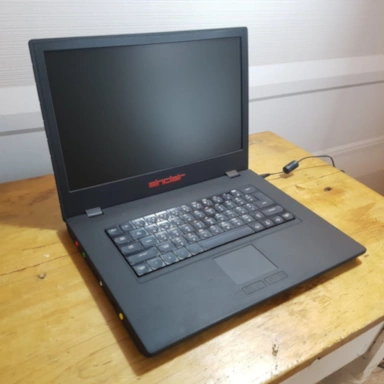
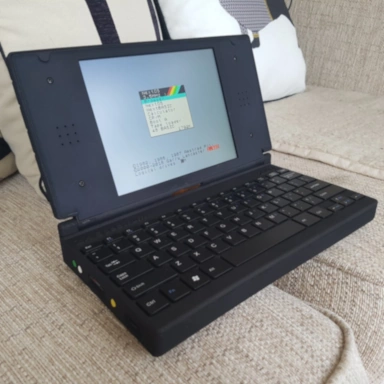
ZX Spectrum Next Laptop
Jan 13, 2018
Read more
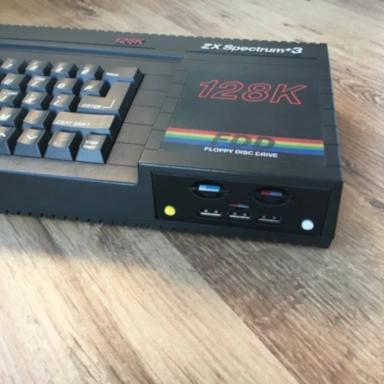
ZX Spectrum Next in a Spectrum +3 Case
Dec 15, 2017
Read more
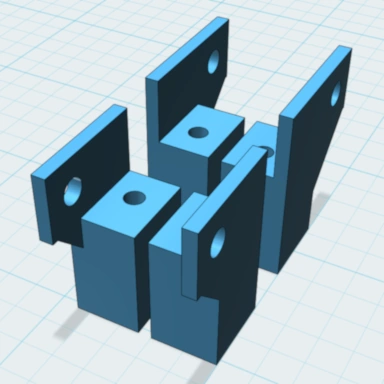
Acorn A5000 2nd Floppy Drive Mount
Feb 16, 2017
Read more
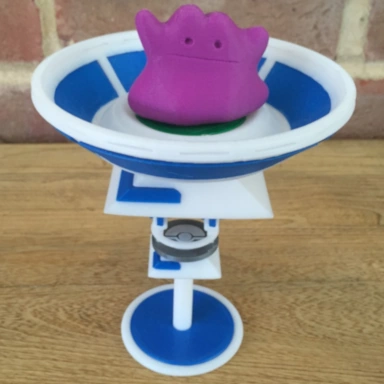
Pokémon Go Gym
Aug 09, 2016
Read more
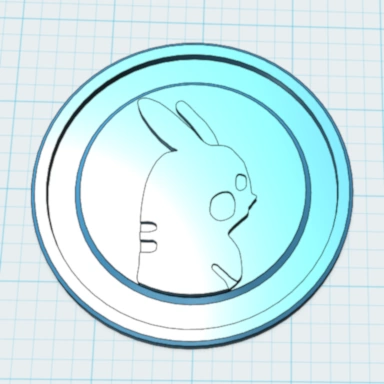
Pokémon Go Pokécoin
Aug 02, 2016
Read more
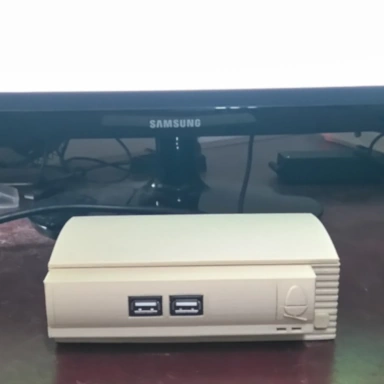
Raspberry Pi Acorn RISC OS Case
Jun 25, 2016
Read more
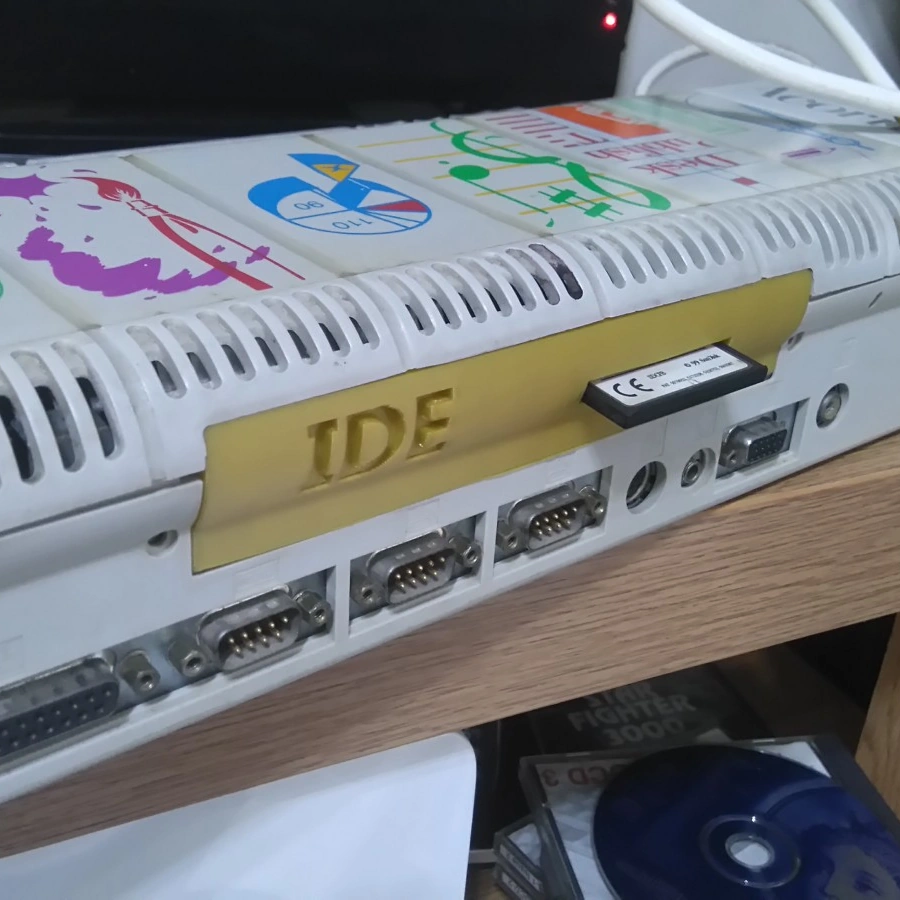
Acorn Archimedes A3010 IDE Back Panel
May 15, 2016
Read more
Acorn Archimedes A3010 Replacement Disk Eject Button
Apr 17, 2016
Read more
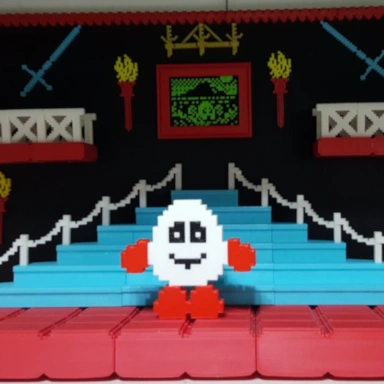
Fantasy World Dizzy 3D Scene
Mar 26, 2016
Read more
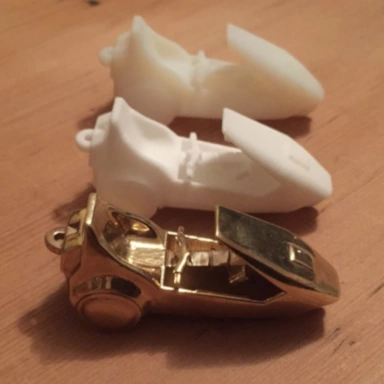
Sinclair C5 Keyring
Mar 25, 2016
Read more
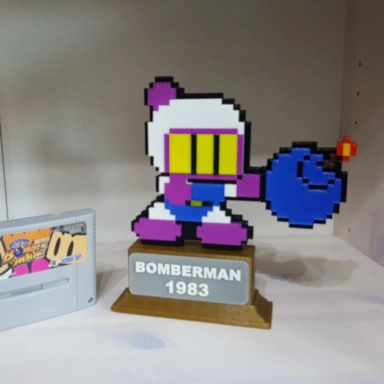
SNES Bomberman 3D Printed Trophy/Bitmap
Mar 17, 2016
Read more
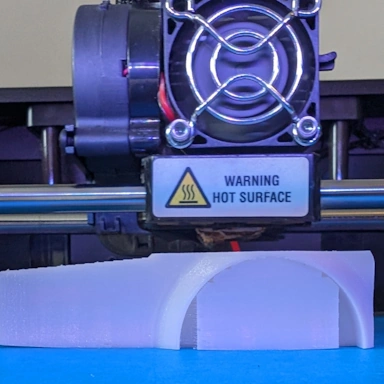
Automatic Supports VS Manual Supports
Jan 03, 2016
Read more
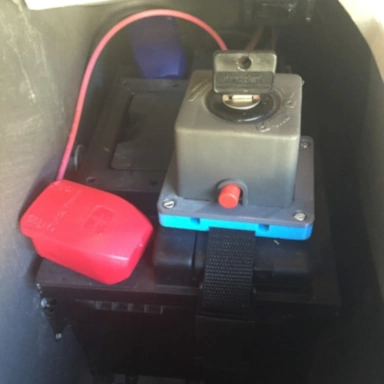
Sinclair C5 Keyswitch Battery Adapter
Oct 03, 2015
Read more
Video: Creating a 3D Printable Model from a 2D Bitmap Sprite
Aug 31, 2015
Read more
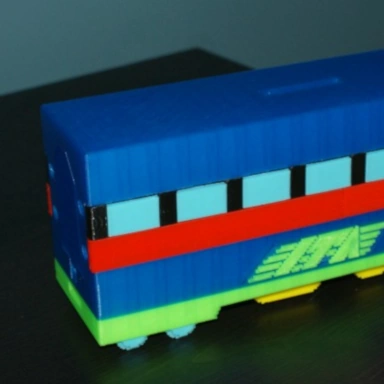
Stop the Express Money Box
Aug 27, 2015
Read more
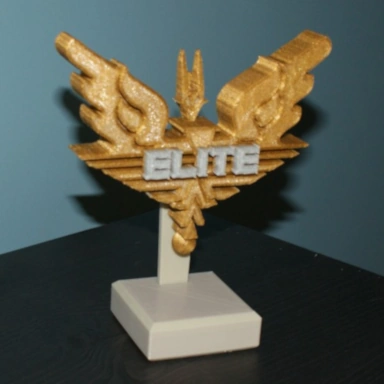
Amiga Elite Loading Screen Trophy
Aug 26, 2015
Read more
Stop the Express in 3D
Aug 19, 2015
Read more
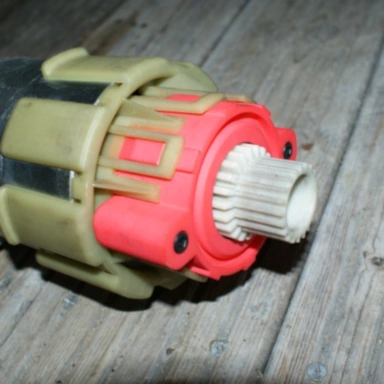
Sinclair C5 Gearbox Remade
May 22, 2015
Read more
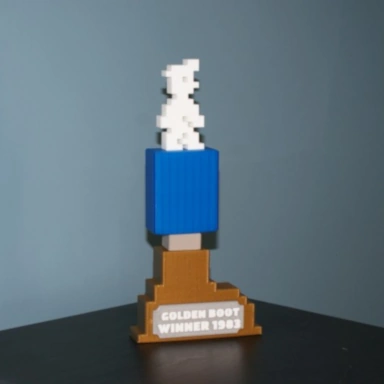
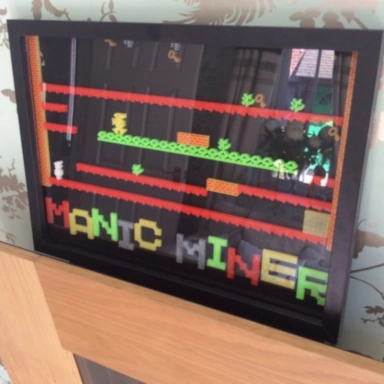
Manic Miner gets the Boot
Apr 12, 2015
Read more
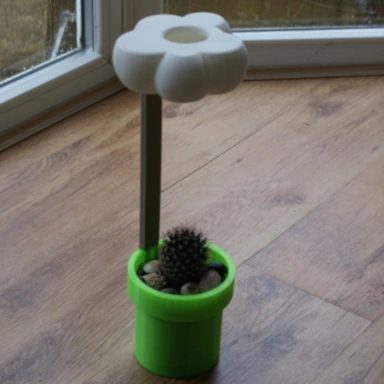
Plant pot with Watering Cloud
Feb 22, 2015
Read more
Horace Goes Skiing - 3D Printed Trophy
Feb 01, 2015
Read more
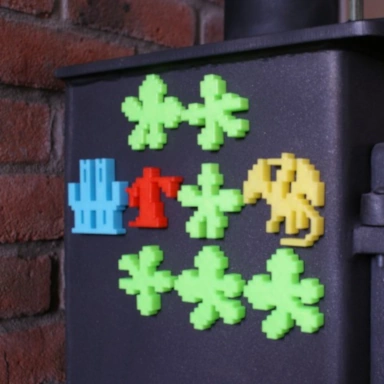
ZX Spectrum Game Chaos - 3D Printed Fridge Magnets
Jan 18, 2015
Read more
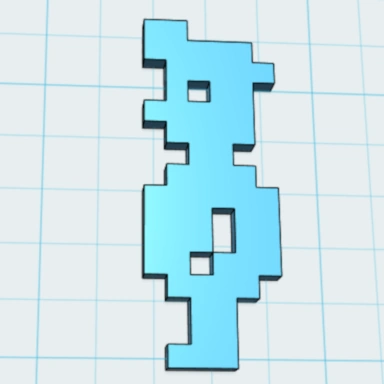
Creating 3D models from 2D Bitmap images
Jan 16, 2015
Read more
Back to the Future: 3D Printed Flux Capacitor
Jan 03, 2015
Read more
Replacing Broken Sinclair C5 Indicator Clips
Dec 24, 2014
Read more
Testing Print Detail Levels
Dec 09, 2014
Read more
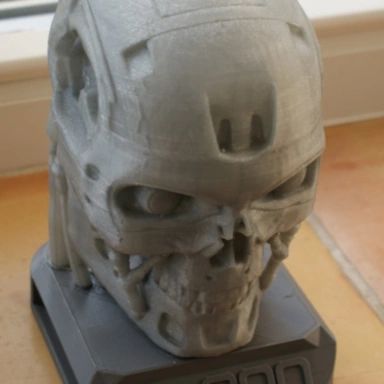
Printing Large Models - The Terminator T-800
Dec 08, 2014
Read more
Sinclair C5 1/10 Scale Model
Dec 06, 2014
Read more
Manic Miner Willy
Dec 03, 2014
Read more
Manic Miner - Level 1
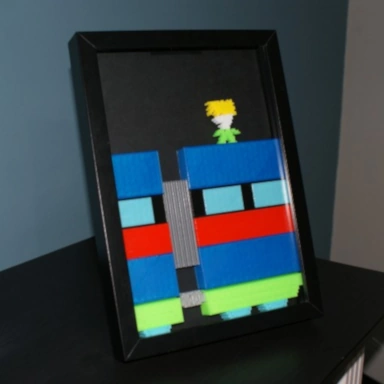
Dec 02, 2014
Read more
Cooling Fan Bracket for Sinclair C5
Dec 01, 2014
Read more
Our Website
3D Printing Blog
3D Web Blog
3D Models
Privacy Policy
Site Map
File Types
3D Model
Image
Vector
Video
© 2026 dorchester3d.com