SNES Bomberman 3D Printed Trophy/Bitmap
It's been a while since my last retro video game-inspired print, so, with a large amount of inspiration from Clammylizard, I dug out an old Bomberman sprite and recreated it in plastic.
Unlike previous sprites such as Manic Miner Willy, which have only used 1 color, this sprite is somewhat more colorful and a lot more challenging!
As our sprite contains more than one color, we will need to employ a combination of swapping the plastic mid-print and also printing some of the sprite as separate, smaller parts to enable us to get the colorful 3D print that we need.
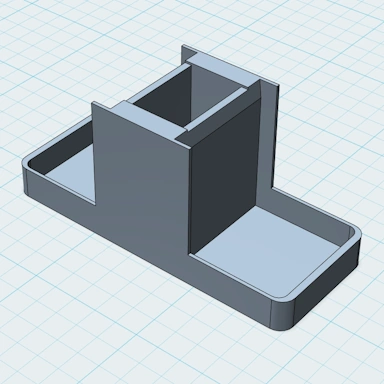
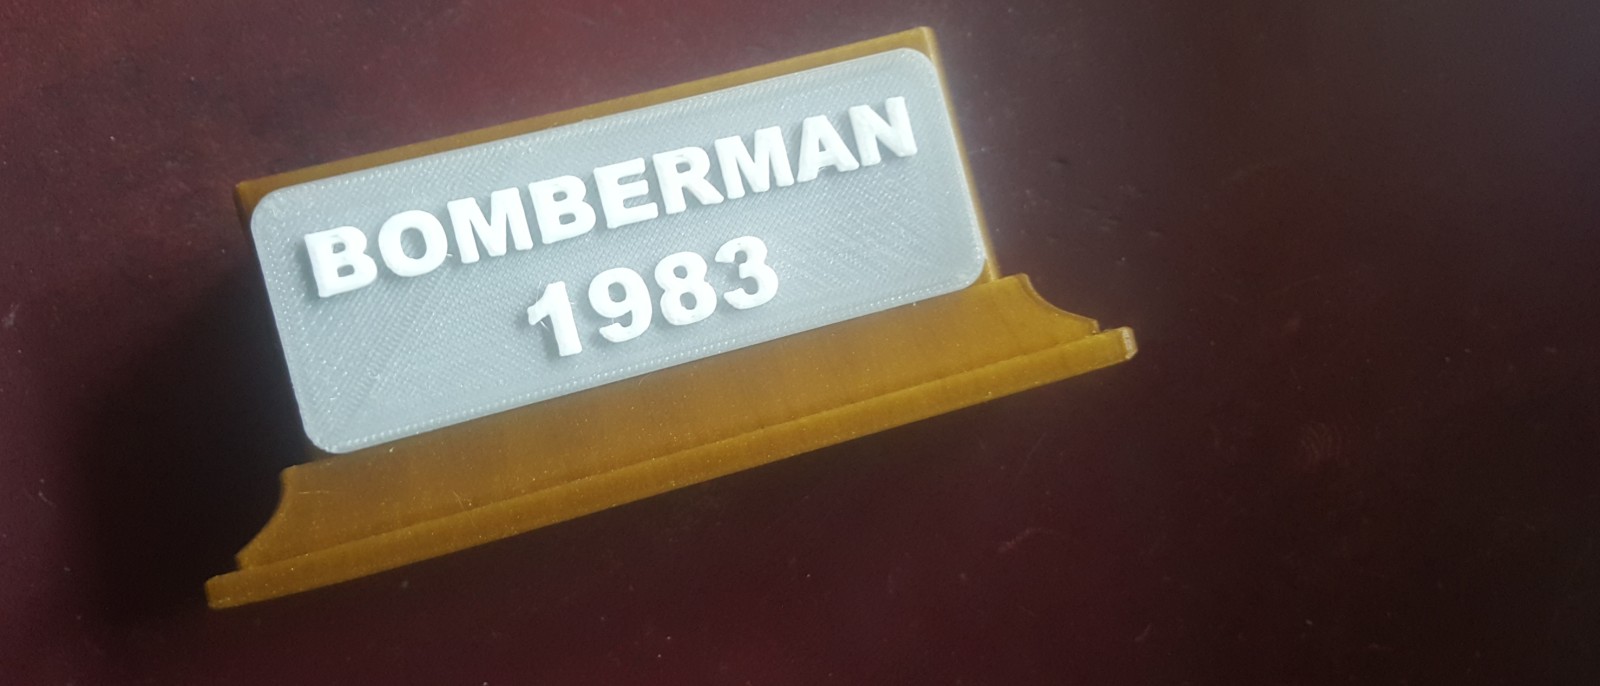
We'll be placing the Bomber Man sprite on one of our Trophy stands used in previous prints, updated to the year of the release of the original Bomber Man, 1983.
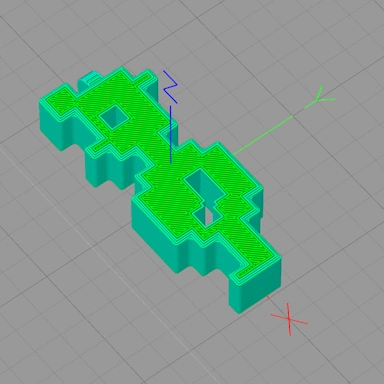
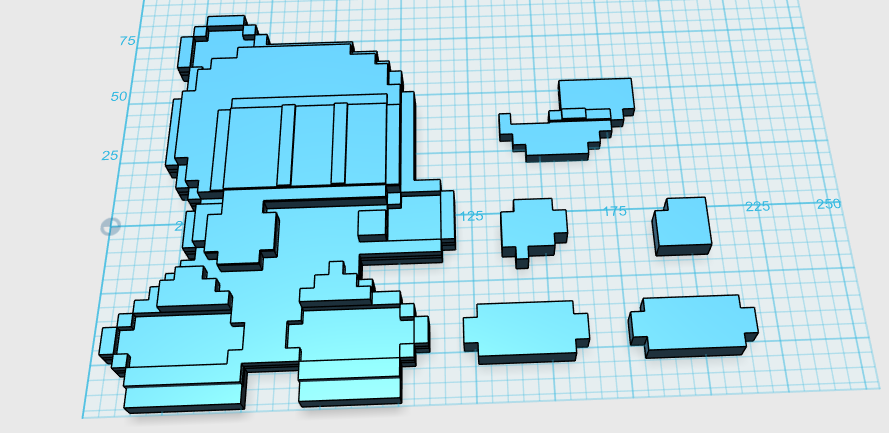
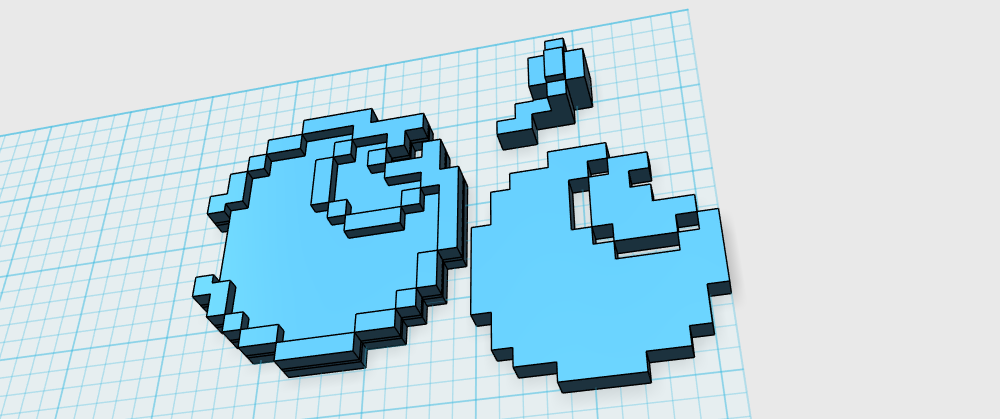
Designing it as usual in 123D Design and creating the sprite pixel by pixel! As explained earlier, the main sprite (and the bomb) are designed as separate parts that, hopefully, will clip together when printed with no need to glue them together. I just have to get the measurements perfect!
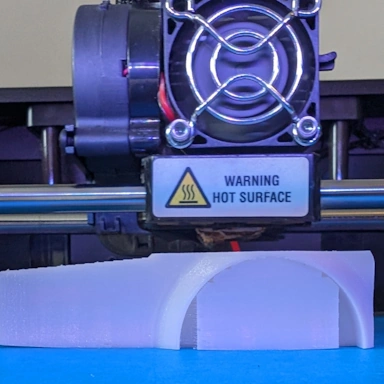
With the design done and dusted, it's time to get this printed out. Normally, when printing using a single color, you can just go away and leave the printer to do its thing, but as we need to swap the plastic mid-print on some of the parts of this model, we need to stick around and be ready to swap the plastic when the time comes.
Here are the parts of our main Bomber Man sprite printed out and clipped together. The thickness of the print is about 12 mm, and it looks great with all the correct colors!
Fully assembled with the bomb attached, here he is complete with a copy of Super Bomberman for the Super Famicom, which I intend to play straight after publishing this article!