Replacing Broken Sinclair C5 Indicator Clips
In this post, I will use a modern 3D printer to "fix" a broken item I have been meaning to fix for a while. The item in question is a direction indicator from an old Sinclair C5 electric trike.
As is usual for these Sinclair C5 indicators, which are about 30 years old, the plastic clips on the underside have broken off, rendering them pretty much useless.
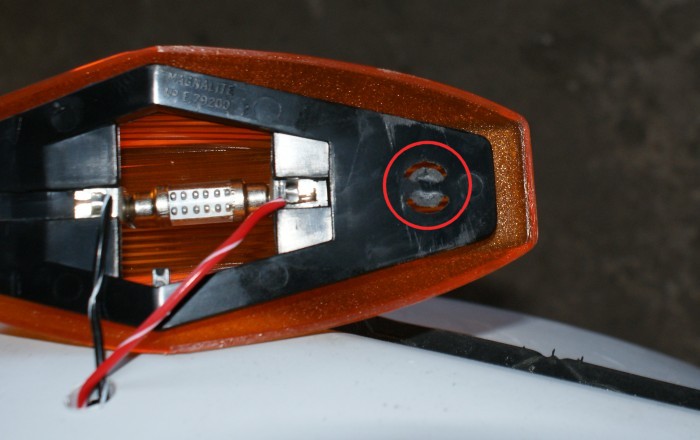
We could, of course, throw them away and wait for another set to come up for auction on Ebay. As a complete indicator set can cost upwards of £200 it is worthwhile to come up with a fix.
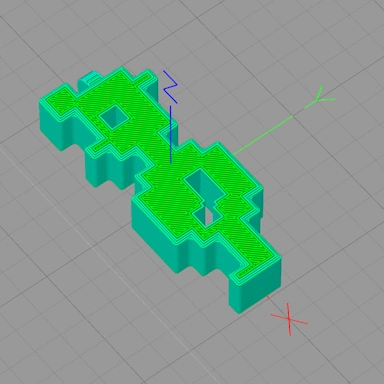
So, starting with 123D Design I created a pair of clips that could be slotted into the empty, curved holes on either side of the area where the old clips had broken off.
It was important that these new clips be stronger than the originals. With that in mind, I ensured that from the start, the clips would be printed with the clip laying on its side rather than standing on end.
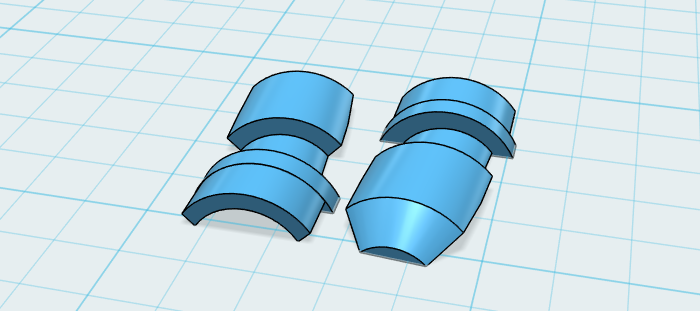
With the design complete, it is time to print a set and test it. The original clips are black, so we will be using regular black PLA plastic for this. Because of the very small size and the fact that the clips are mostly curved, we will print these on the high-quality setting on the MakerBot (0.1mm layer height).
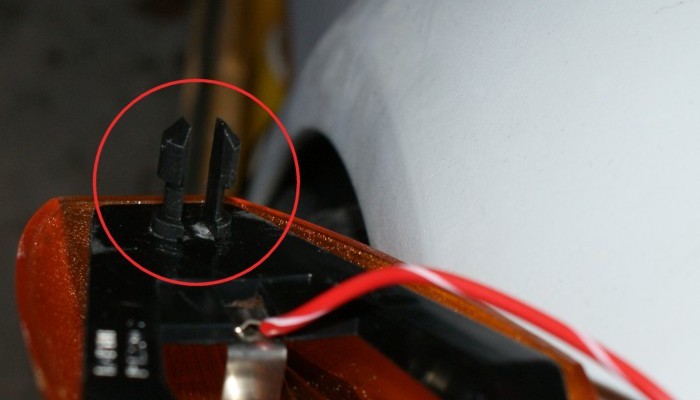
Having taken about 5 minutes for them to print out, here they are slotted into the indicator, ready to go:
Now the old indicator can be put back onto the C5, and the new clips hold it firmly in place:
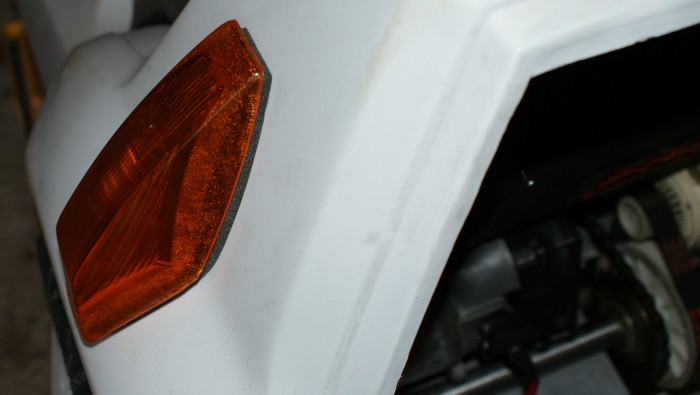
The indicator is now fitted and working, and it hasn't snapped or come off since fitting the new clips.