Sinclair ZX Spectrum Next Laptop Version 2
This project is unrelated to the official Spectrum Next Kickstarter or the Spectrum Next team. I wanted a Spectrum Next laptop. So I made one!
Having created a laptop style case for my ZX Spectrum Next dev board previously, I wanted to revisit the idea of a Spectrum laptop and address some of the issues faced in the previous version.
Some of the issues with the original laptop design were:
- The hinges did not lock into position when fully closed; a lever would have been required to hold the lid shut when fully closed.
- Although at the time of the build the screen worked perfectly under HDMI, the Spectrum Next firmware underwent many changes over the following months to ensure compatibility with HDMI TV's, and this unfortunately broke the compatibility with the screen chosen for the laptop.
- It used an off-the-shelf USB PC keyboard. This is unacceptable in a Sinclair Spectrum laptop!
With these issues in mind, I decided to start afresh, choosing hinges from a more recent scrap laptop I had lying around and a larger HD screen that would not only support HDMI but also VGA. On top of the improved screen compatibility, I wanted to be able to use one of the fantastic keyboards from a Spectrum Next in the laptop.
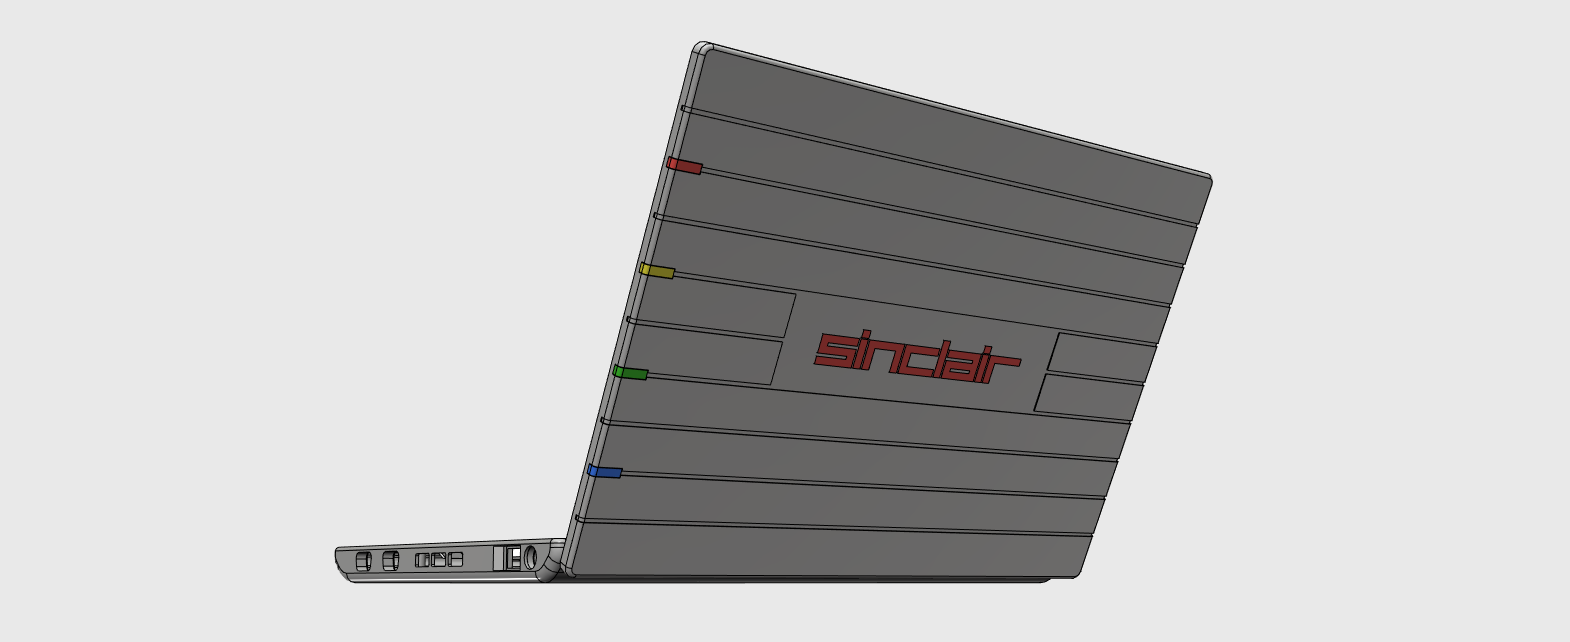
With all these changes in mind, the new laptop was designed from scratch, using only a few parts of the previous design (Joystick, USB, and power jack cut-outs). The new laptop must have the following:
- Original Spectrum Next keyboard
- The same PCB is used in the handheld SpeccyX (to save on costs, as I have spare ones lying around)
- Touchpad for games or apps that support the PS/2 mouse connector
- Dual Micro-SD sockets
- Stereo speakers with volume control and headphone jack
- Dual joystick ports
- PI USB ports
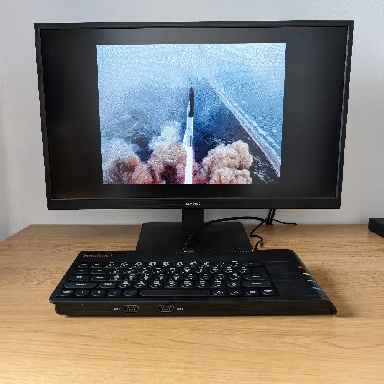
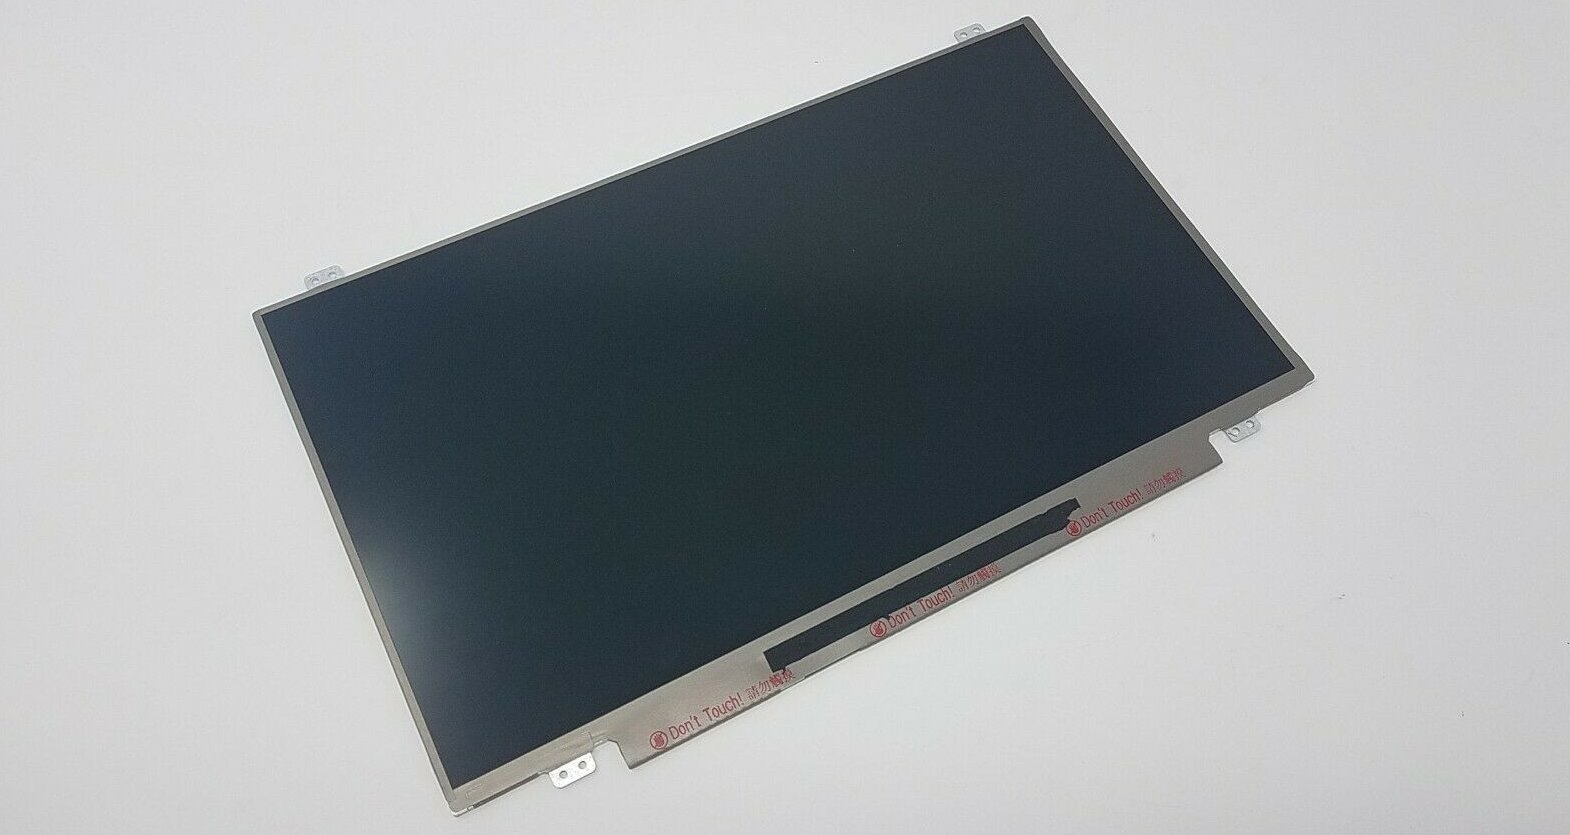
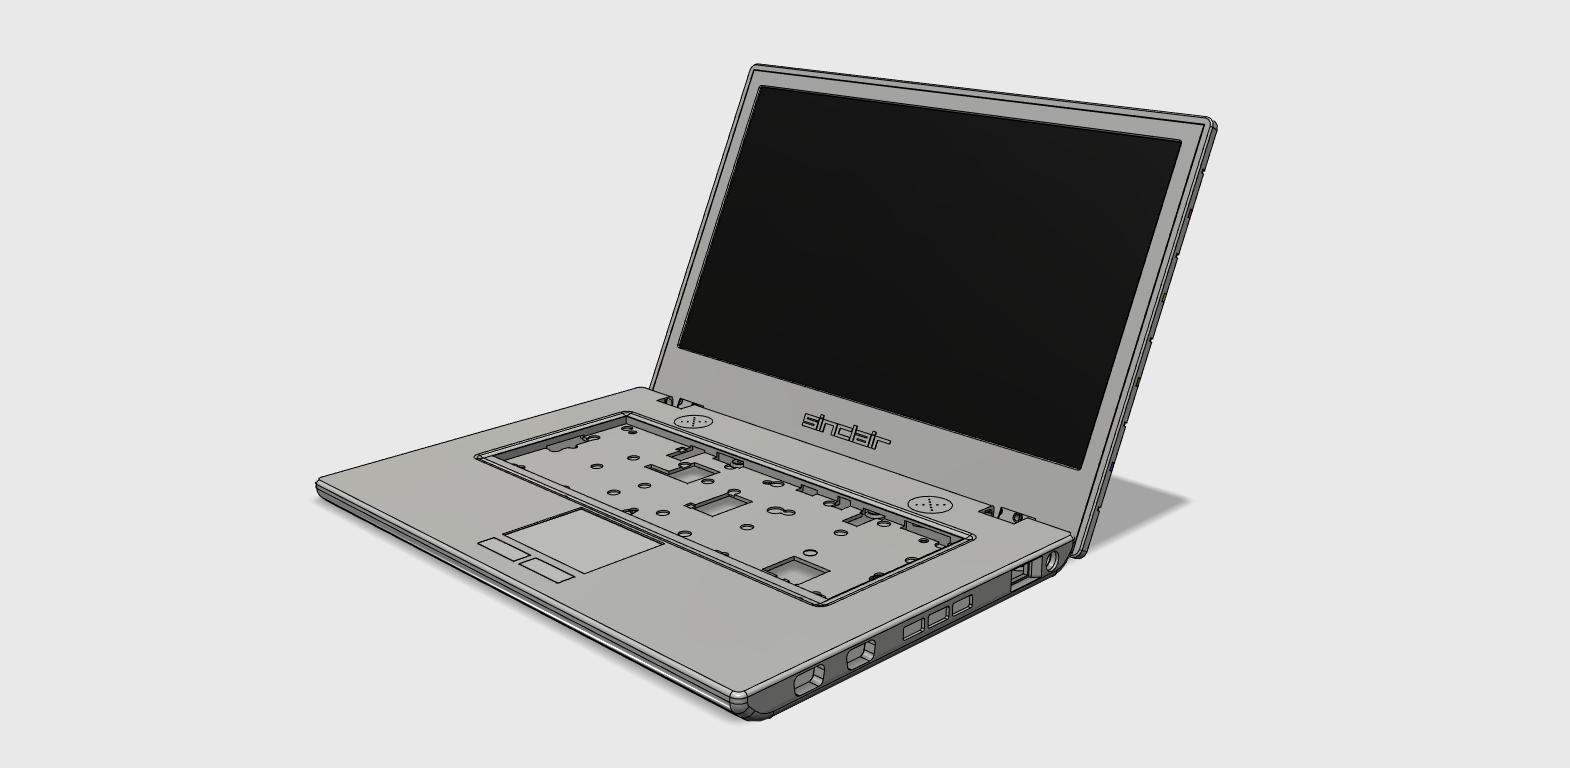
The Screen
I wanted to re-use the screen from an old, non-working laptop. The screen itself is a 14" WXGA LED screen, and when tested with a Spectrum Next, it gave a great display over HDMI and also VGA at 50 Hz.
In addition to the screen, I needed a VGA/HDMI/LCD controller board; there are plenty of these available from the likes of eBay, etc. The size of these boards isn't great for this particular project, but by removing the large unused sockets (DVI, headphones, etc.), I can at least reduce the height requirement inside the laptop.

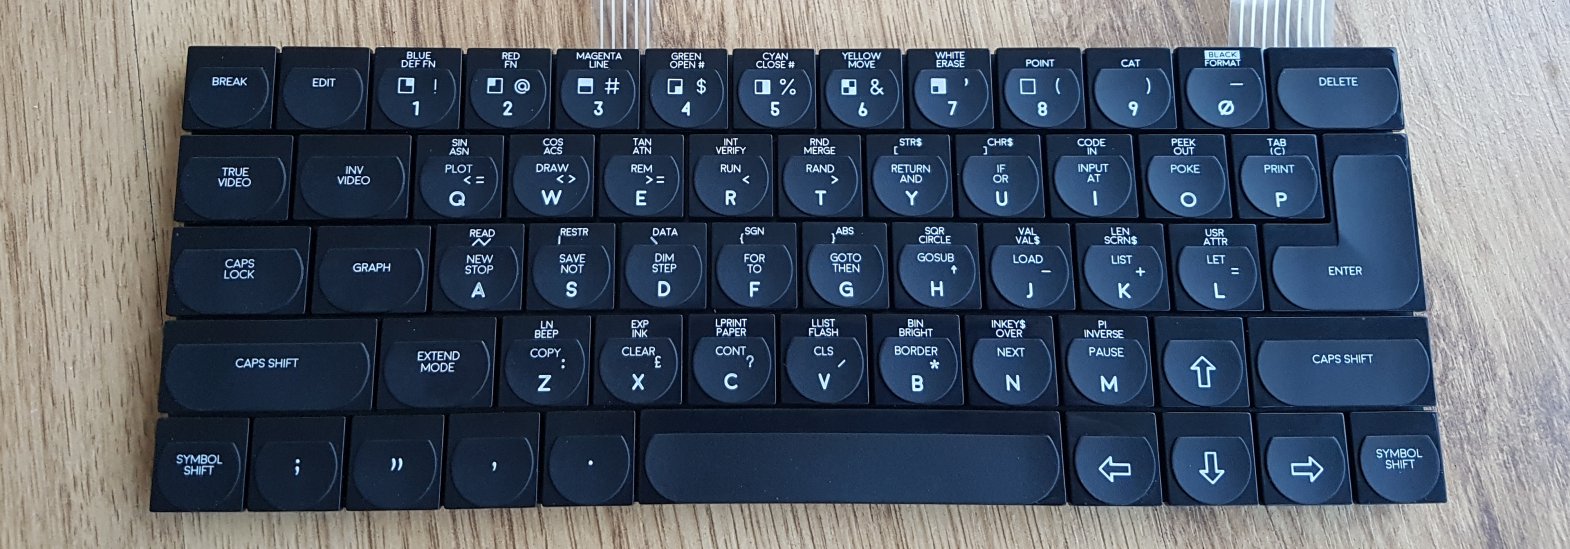
The Keyboard
What is a better keyboard for the laptop than a genuine Spectrum Next keyboard? While it's not as thin as most modern laptop keyboards, it is sufficiently thin for this build, and I prefer the Next keyboard to most laptop keyboards. The keyboard will be "on loan" from my 2nd Spectrum Next, and I'm hoping to pick up a spare keyboard in the future, specifically for the laptop, in order to return this keyboard back to the Spectrum Next that it came from.
The PCB
Having some spare mini-boards from the handheld project I opted to use one of these for the build. It's small size lends itself well to a laptop and leaves me plenty of room inside the case for wiring and other things.
The previous version of the laptop was built around the Spectrum Next dev board, which, given its size, is not best suited to a laptop design. On top of this, they are hard to find and quite expensive.
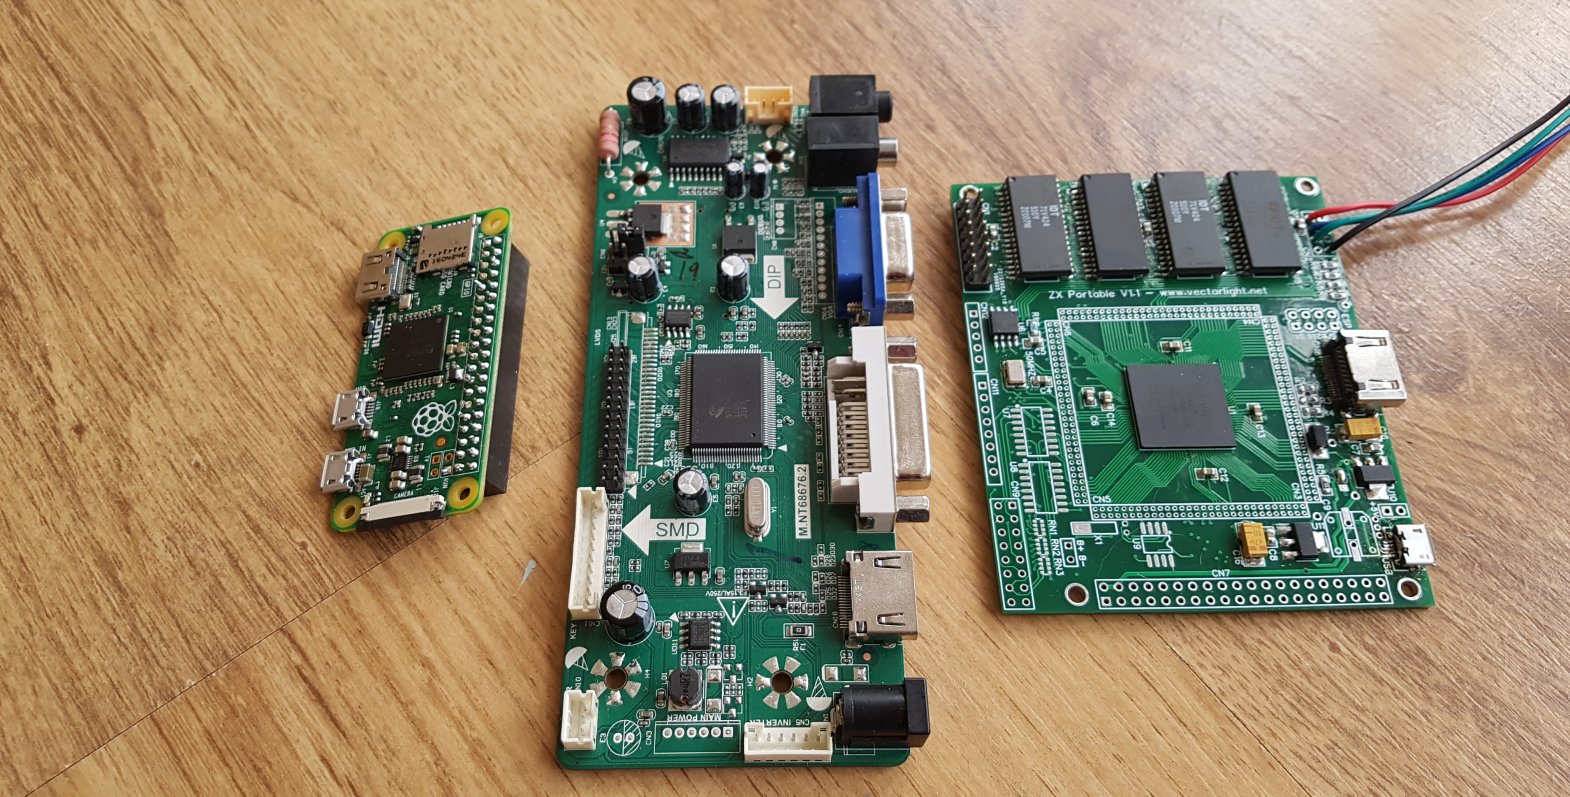
The mini PCB, like the Spectrum Next PCB, has the ability to interface with the Raspberry PI and WiFi module, so these are also included in the laptop along with a USB splitter board for future USB devices when they become available in the firmware in the future.
Laptop Design
With the screen size already determined and I want to use the Spectrum Next keyboard, the design was built around these in the form of a standard-looking laptop. It is not as slimline as modern laptops, but that's mostly to do with me needing to use off-the-shelf components (LCD driver board, keyboard, etc.) and trying to fit them in.
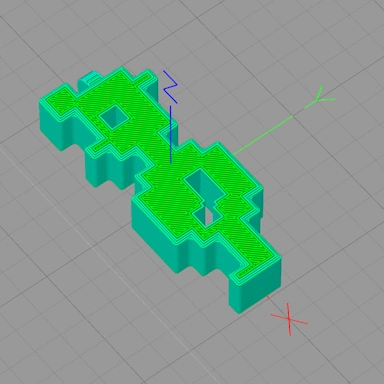
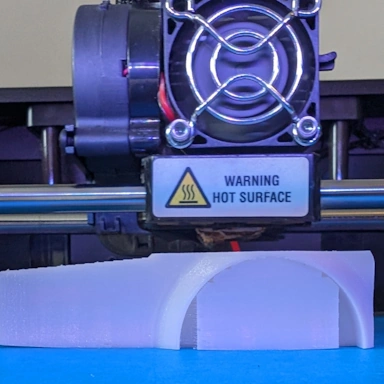
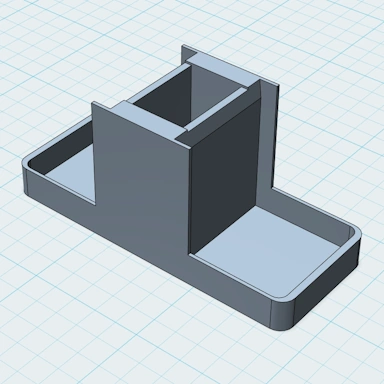
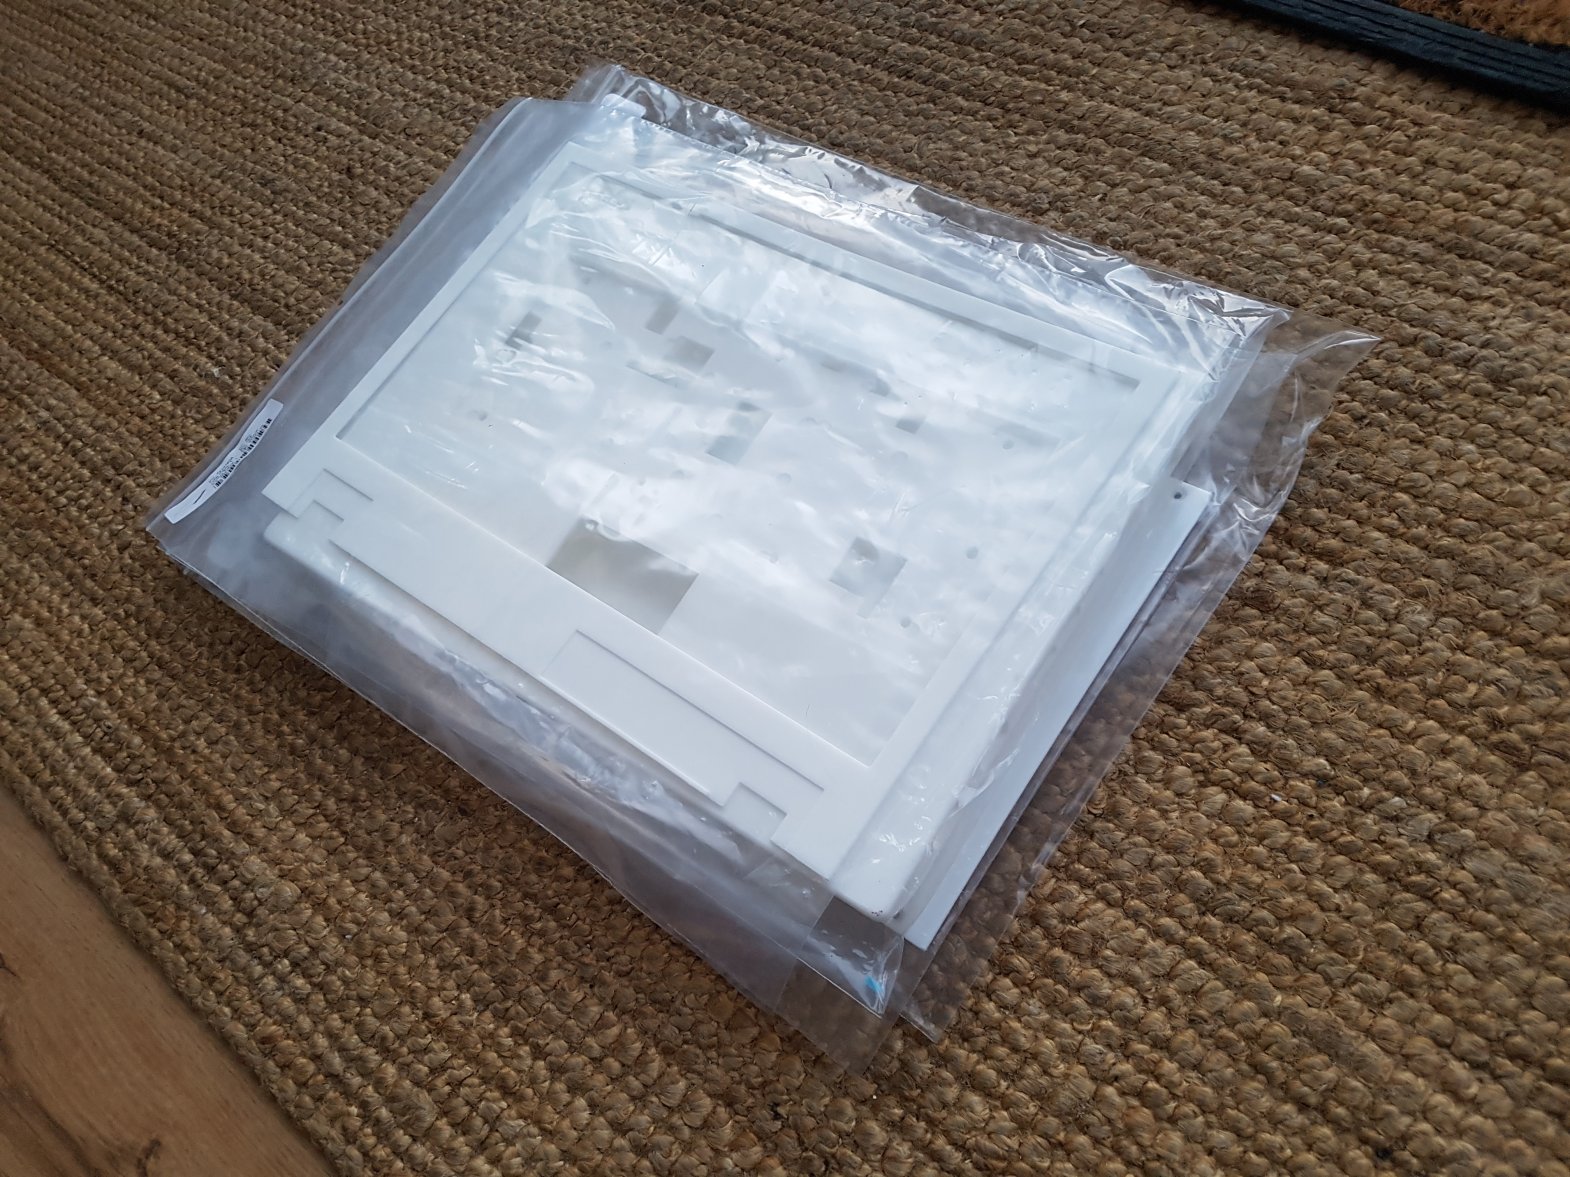
3D Printing
Due to the size of the parts, initial prints were completed on my CR-10S Pro; these were made to ensure the positioning of the ports and hinges were correct. Once verified, the STL files were sent off to Shapeways to be professionally printed. Once received, I sanded down the parts and painted them black.
Completed
After lots of sanding and painting, it is time to assemble the final laptop:
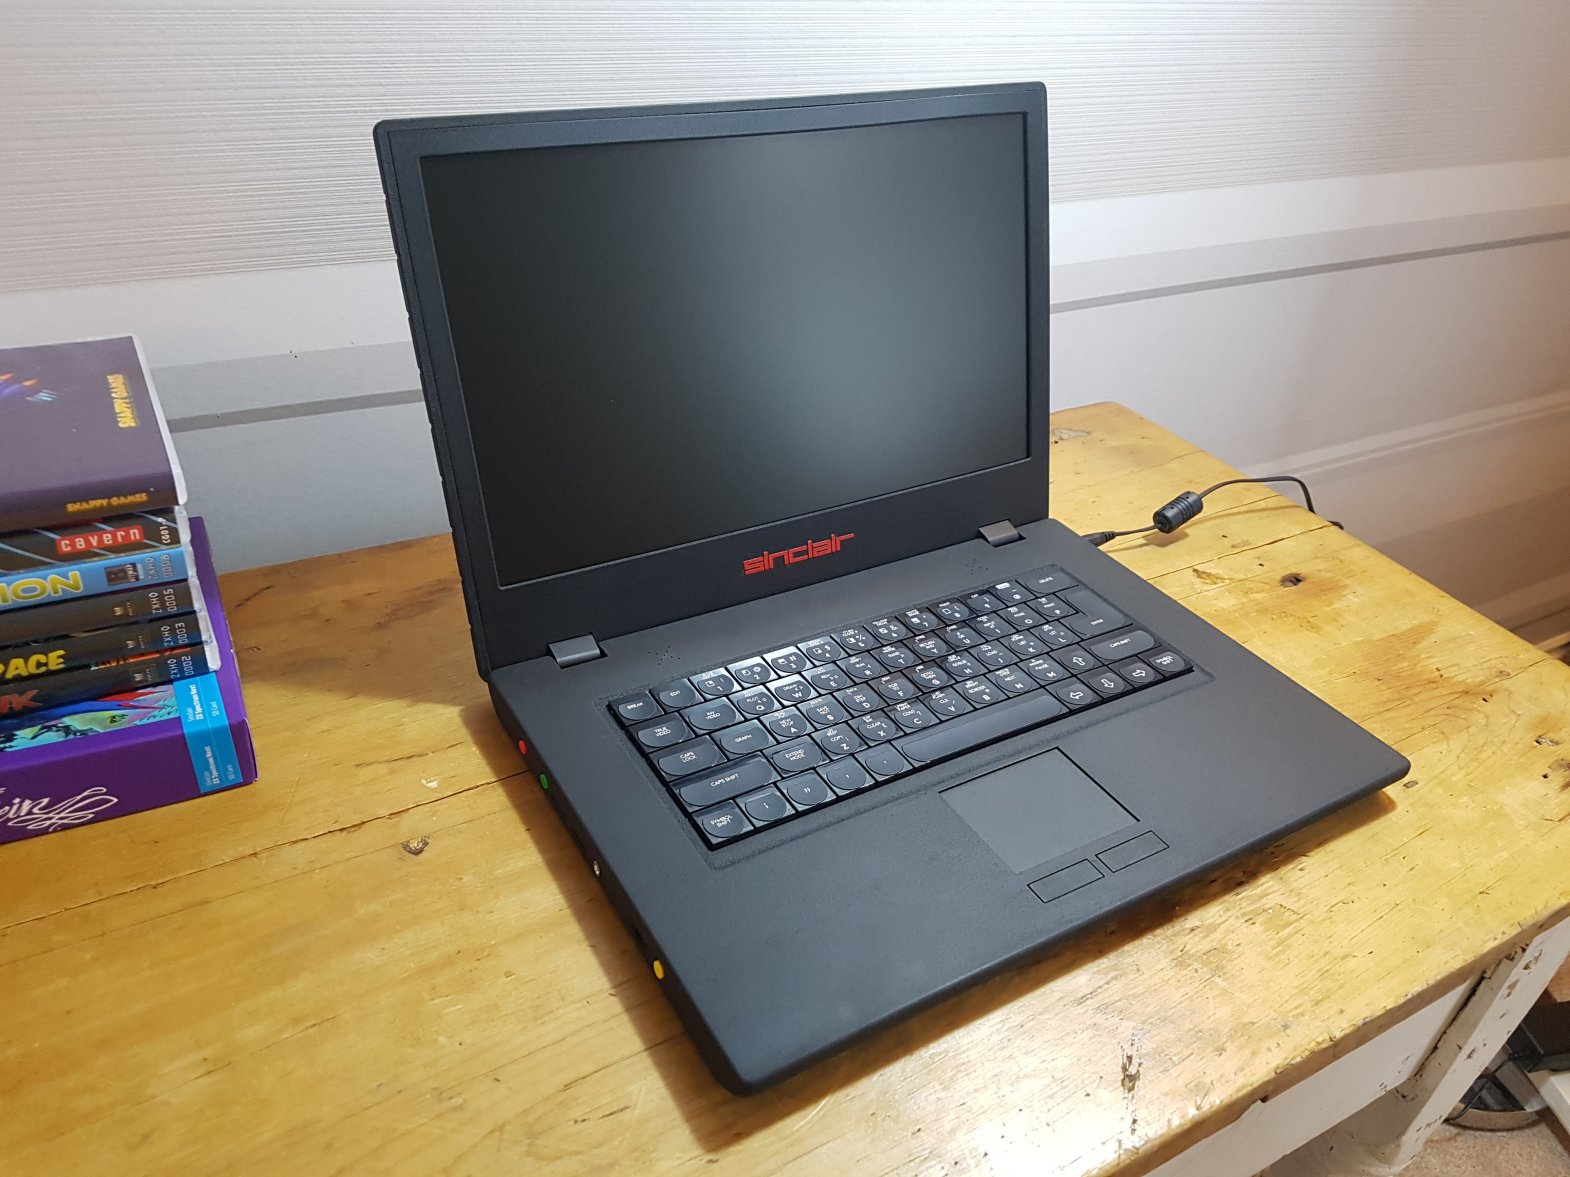
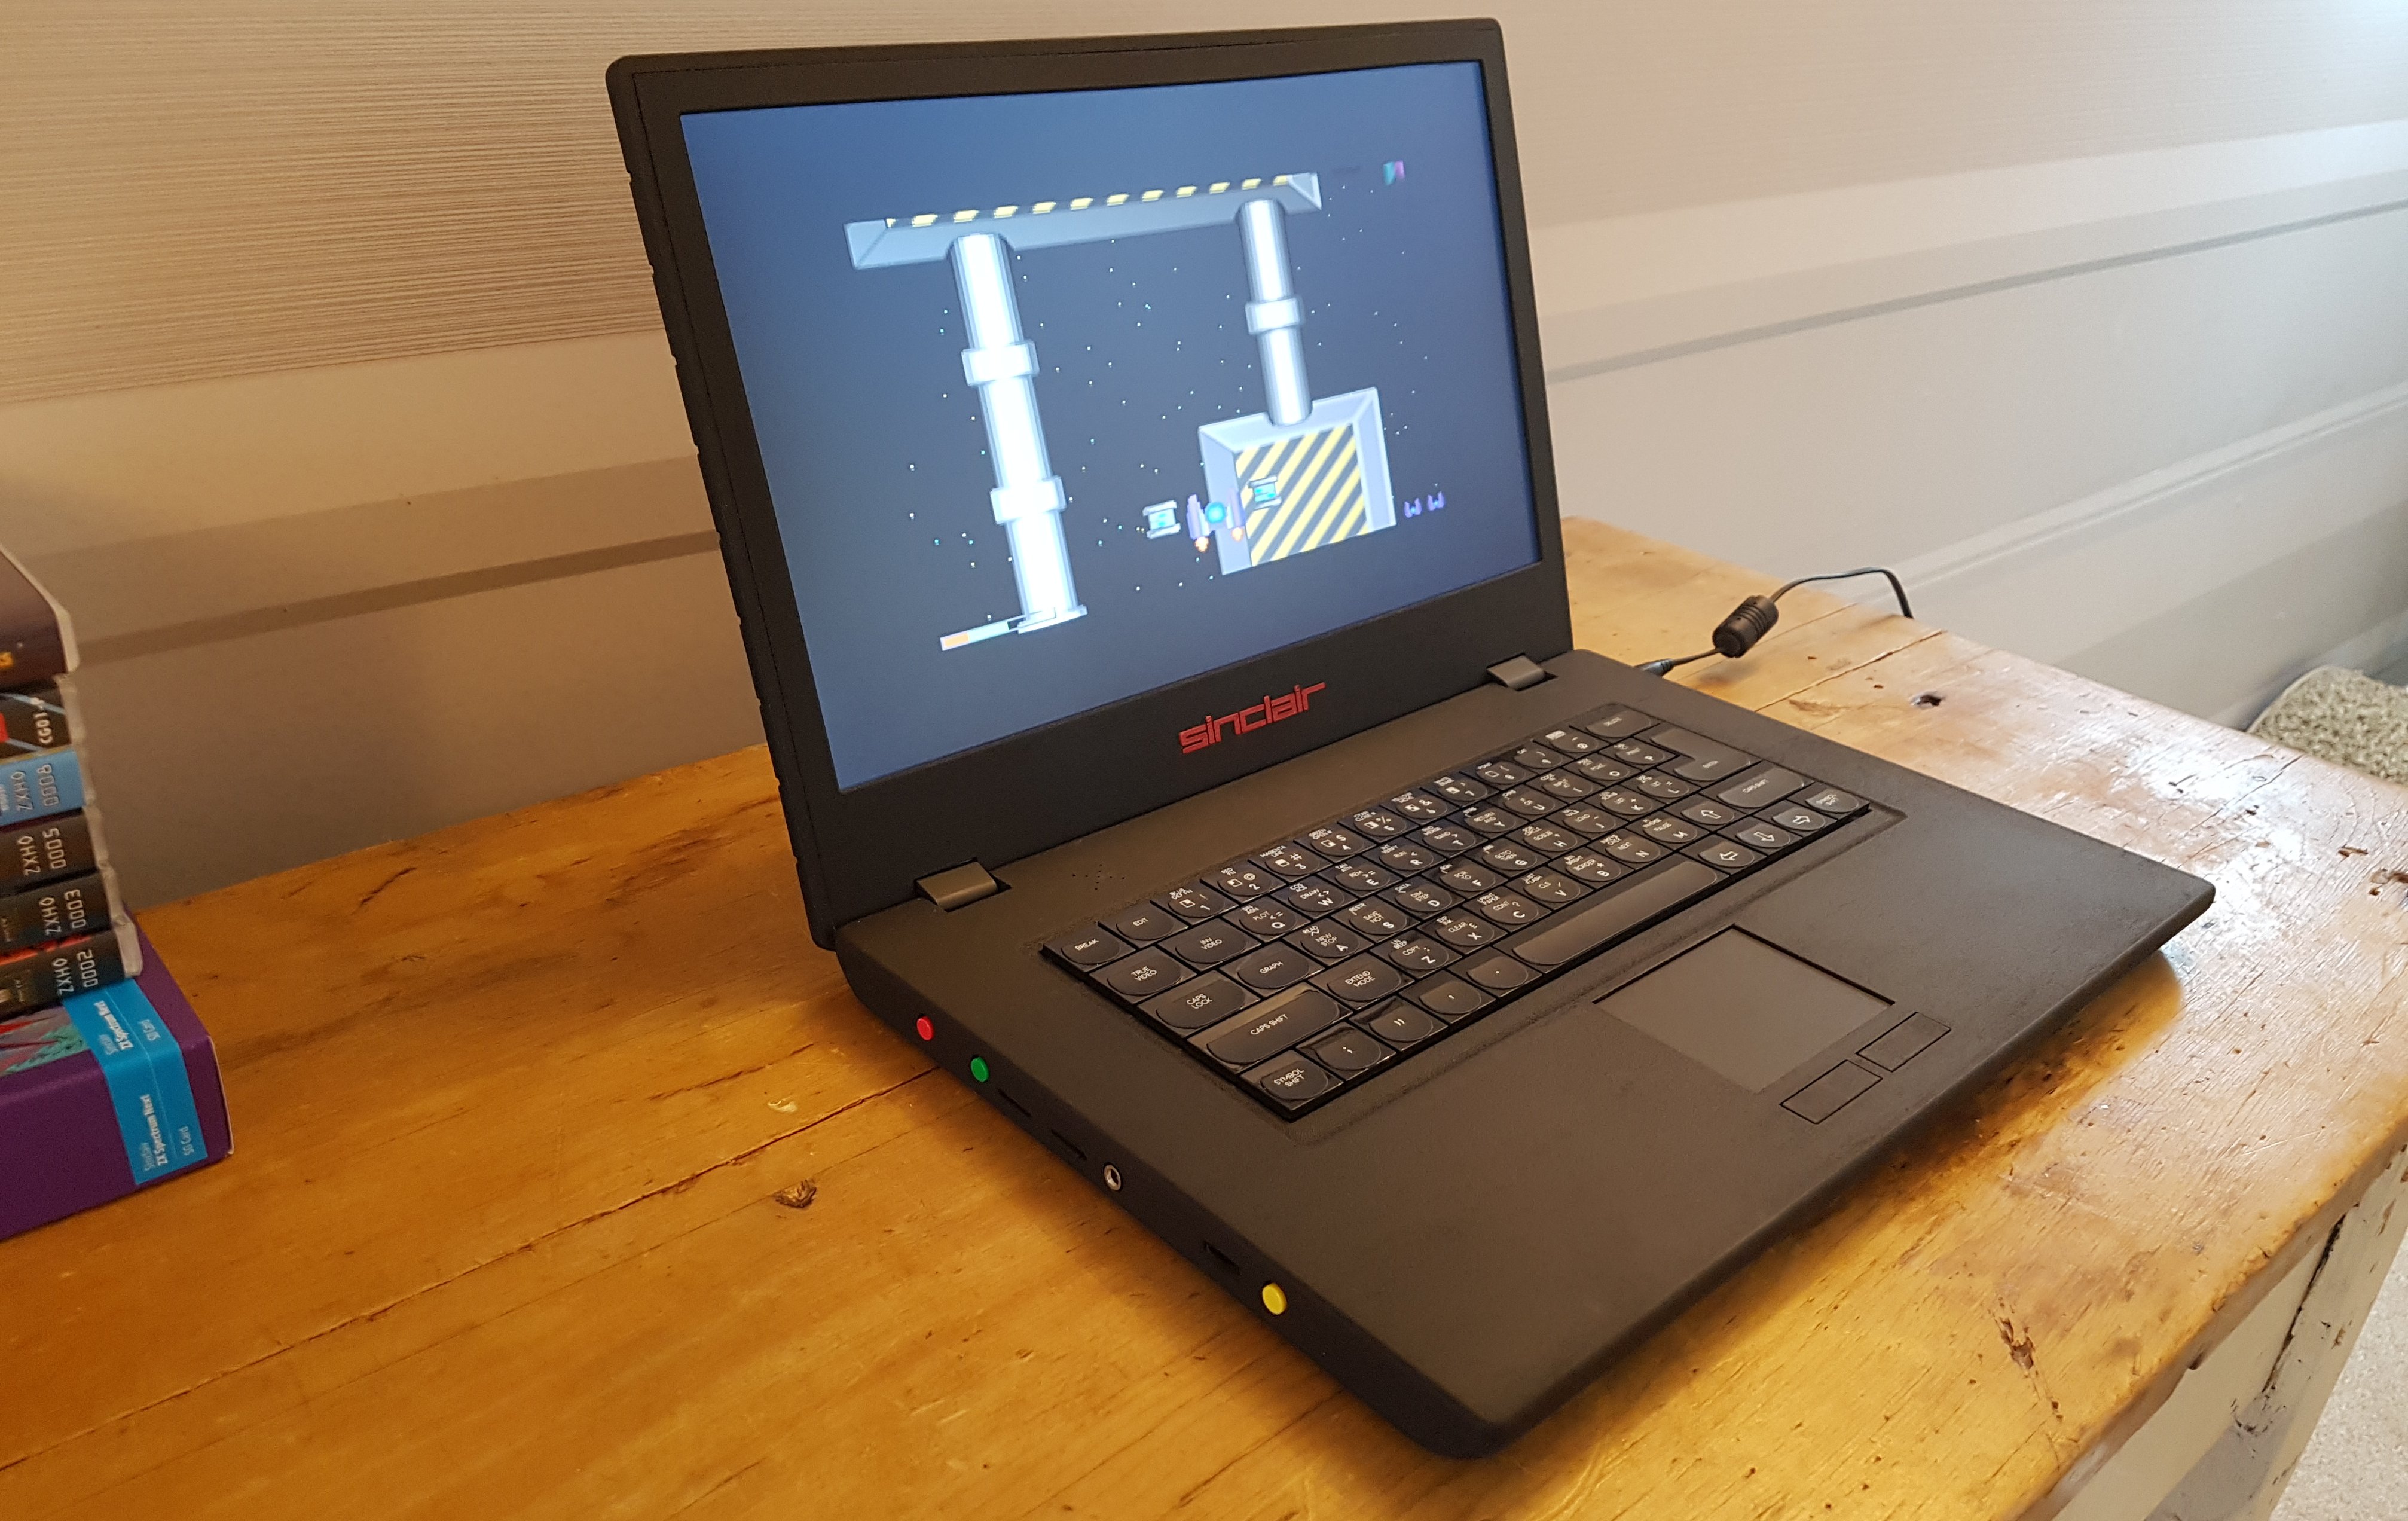

A quick play of some games and demos
Still to do...
Some things still need to be completed on the laptop:
- Battery! Yes, I need to sort out a suitable battery and charging module.
- LCD Backlight. This is always at 100% brightness; the LCD board doesn't have a way to control this. However, these screens have a pin that will allow a PWM signal to control the brightness, so I should be able to control this with the PI or something like an Arduino.
Update 19/12/2020
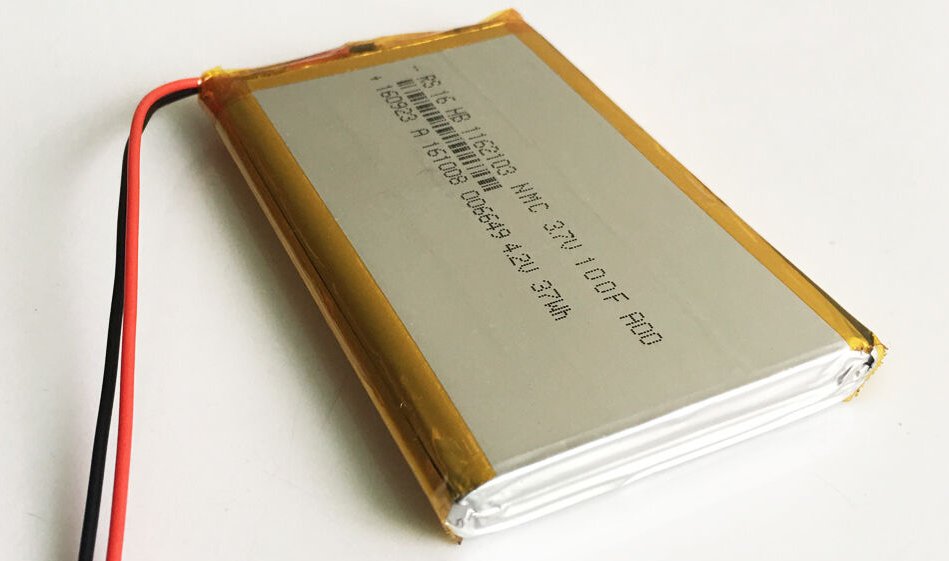
Some additions to the laptop will give it some of the things you would expect from a laptop. Until now, the laptop has needed to be plugged in to use; however, today I added a 12V UPS and a 10,000 mAh battery, which gives me about 6 hours of ZX Spectrum playtime while away from a plug socket.
LCD Backlight
When originally built, the LCD backlight could not be modified and was always on at 100%. What I wanted to do was make it controllable via the laptop keyboard. To do this, I picked up an Arduino Nano.

I've used these several years ago when building an LCD touchscreen Sinclair C5. With the Arduino, I can control the LCD backlight by configuring one of the output pins to send a PWM signal to the screen. By routing some of the keyboard membrane lines to the Arduino input pins, I can look for certain keyboard presses, namely the Symbol Shift and the Left/Right Cursor keys.
Holding Symbol Shift + Left I can reduce the backlight brightness; Symbol Shift + Right will increase it. This could be done using the Raspberry Pi; however, this would mean modifying the default PI software, which I do not want to do. I want to use the standard Next distribution with the laptop and have the Arduino handle laptop-specific functionality.
I did try to make a quick video showing this, but the camera auto-adjusting the brightness to compensate made it hard to show.
Submit a Comment
Comments
Christian GROSSNov 25, 2020 08:27
Greetings from Switzerland
Chris
ROGAS1508Jan 03, 2021 00:35
AleksandrJan 31, 2021 23:36
AlekseyJun 14, 2021 13:04
Or DIY box.
Or book "how to huild your first notebook".
Or show your web site where i can buy it. Thank you.
CarlosDec 08, 2021 13:24
Good Work.
Could you show me where can i get the STL files, to "zx spectrum next laptop " on first version ? Please, Thank you very much for your attention.
qeimairJul 16, 2022 22:30
[email protected]Jun 30, 2025 08:29
i have build an rpi4 in a 5" screen case, without batterie and will try it later.